
[A version of this post was published at GreenBuildingAdvisor.com on 7Jan14]
I don’t know whether there are any building geeks reading this blog, but if so, here’s a post for them. I am including more photos of insulation details than a normal person would find interesting.
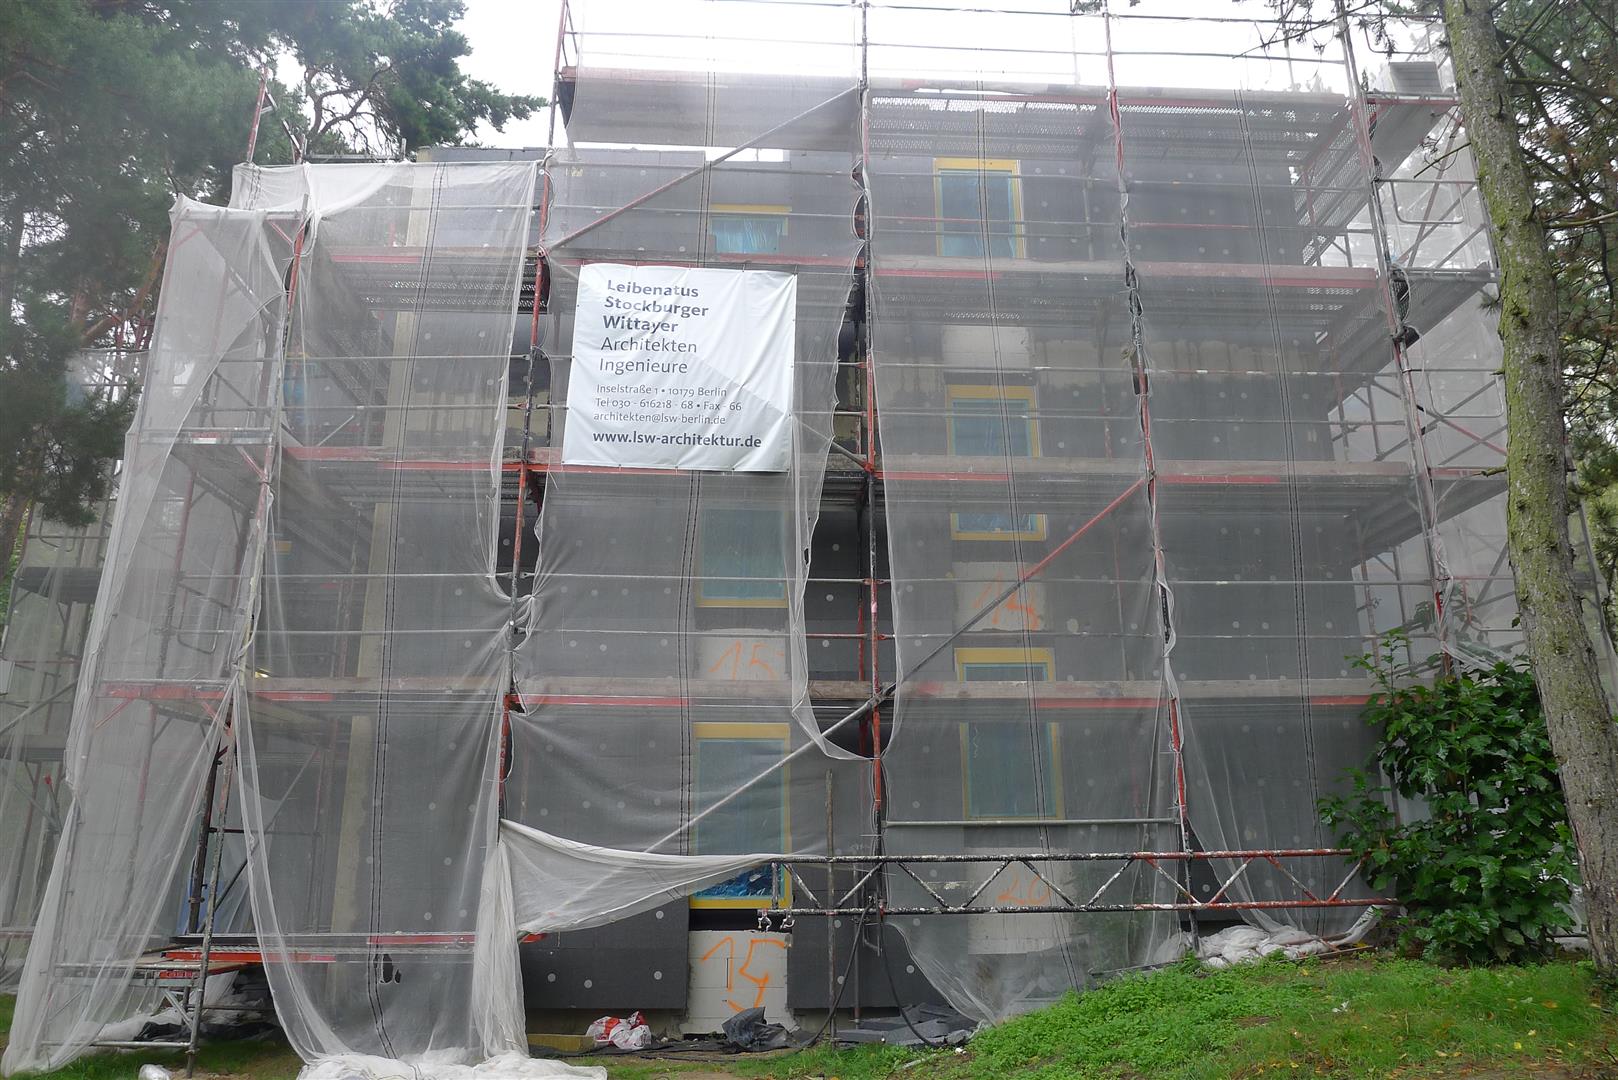
 A few weeks ago while biking back from a visit to Rani’s high school, I stopped at a job site that had previously caught my eye. Although the buildings were shrouded in the usual scaffolding and screening, I could tell that the work involved “energetische sanierung,” or energy retrofitting.
Two workers were installing rigid foam around newly-installed windows. I asked if I could take some photos, explaining that I was a project manager from the US, and interested in energy efficiency. As often happens in this situation, their initial reticence gave way to a quick tour of the work and informative answers to my questions.
While the materials and techniques used on this project are run-of-the-mill for Germany, and may be of limited applicability to projects in New England, I like to think that sharing them might contribute to innovative thinking in someone, somewhere. The rest of this post contains photos and notes about the insulating skin being installed on the building.
From what I could tell, the building being worked on was built in the 1960’s or 1970’s. It was apparently part of a student housing complex associated with the nearby Free University of Berlin.
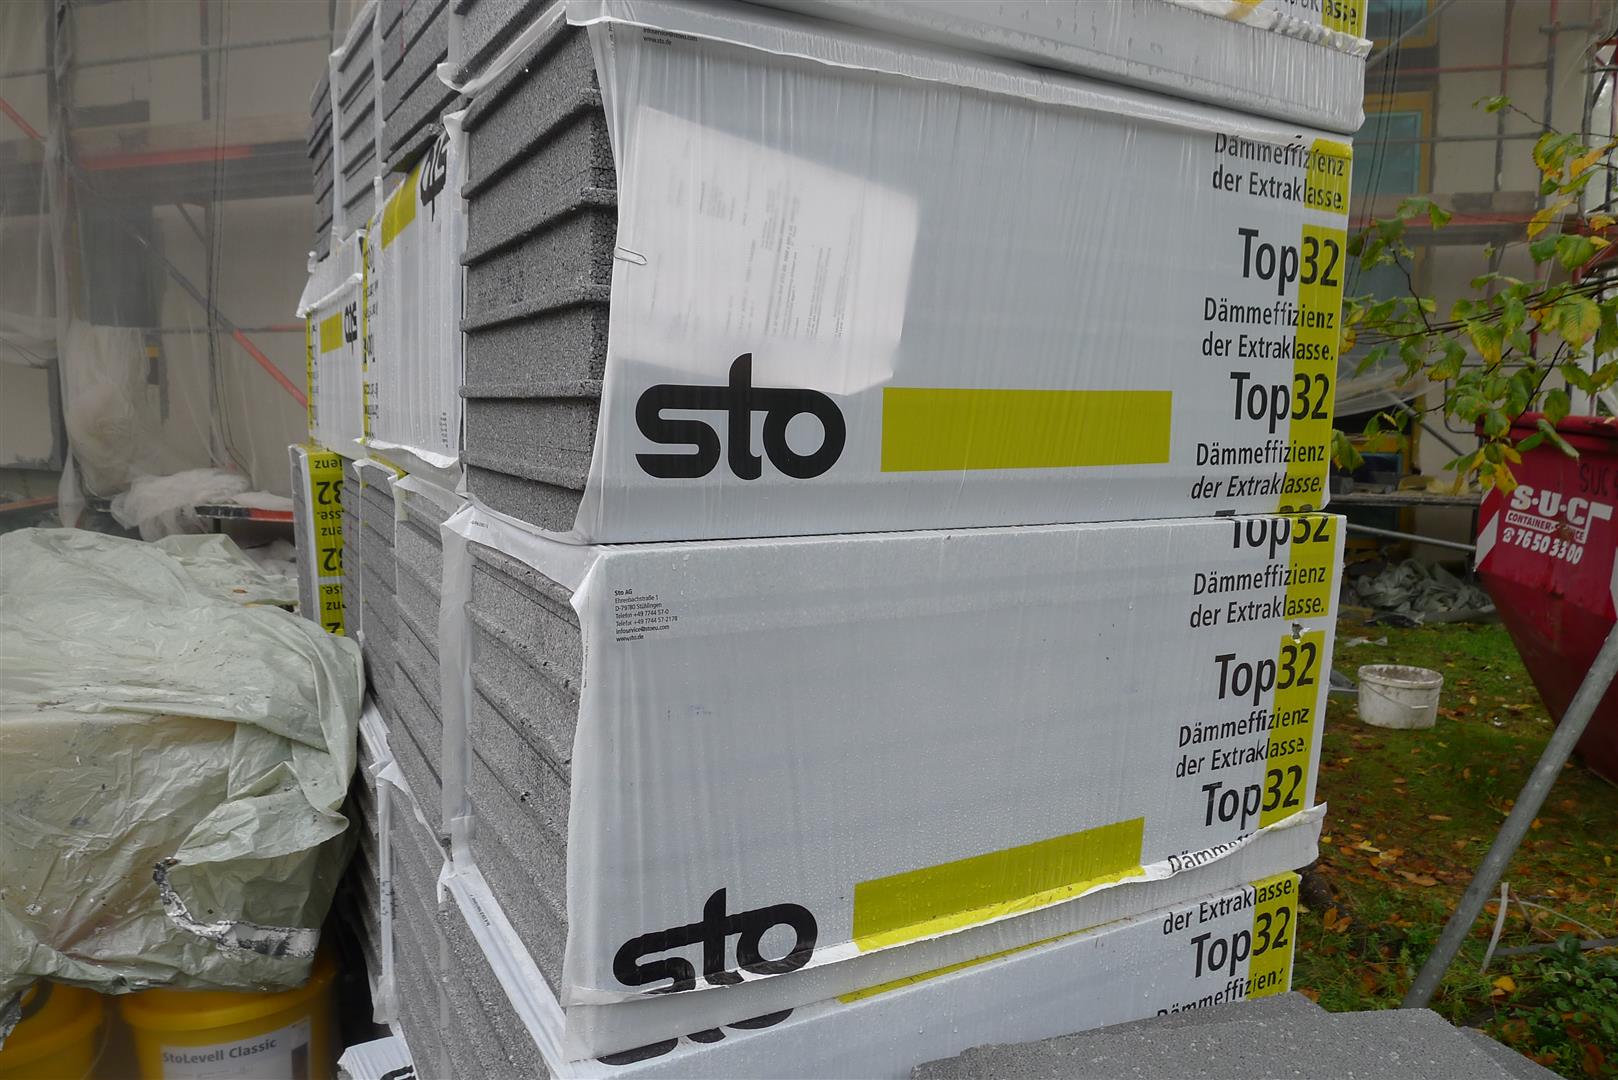
The materials and methods being used on this retrofit project are similar to those I touched on in my 17Sep13 blog post about the construction of the new Stadtpalais apartment complex. The big players in exterior insulation and finishing systems (EIFS) provide integrated suites of materials, accessories, and stucco products for this type of work. STO, the brand that was being used on this project, is a name that I see as much as any. They also have a strong presence in the US.
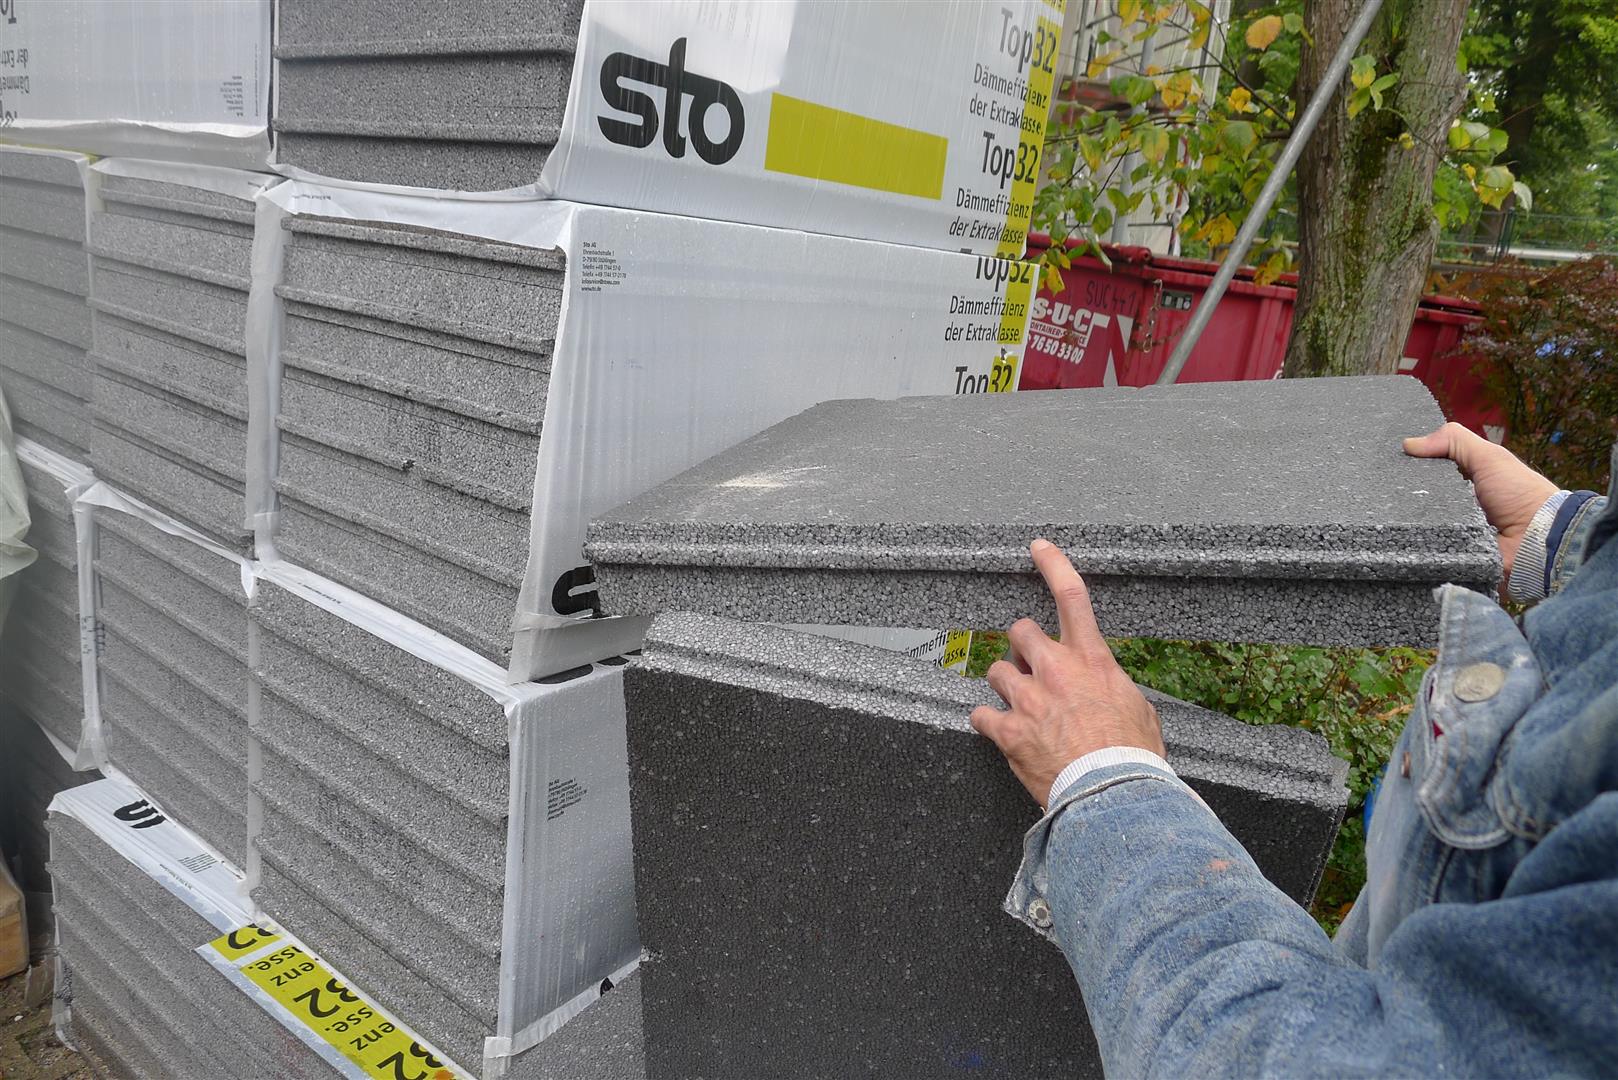
On this project, 120mm thick blocks of expanded polystyrene (EPS) were being installed on the original masonry walls. Unlike in the US, where one can readily purchase different types of rigid foam, here in Germany EPS seems to be by far the most common material with which to insulate existing masonry buildings. From what I have seen, mineral wool is a distant second. The only extruded polystyrene (XPS) I have seen was used below grade on foundations. I have yet to come across any rigid polyisocyanurate board on construction sites here in Germany.
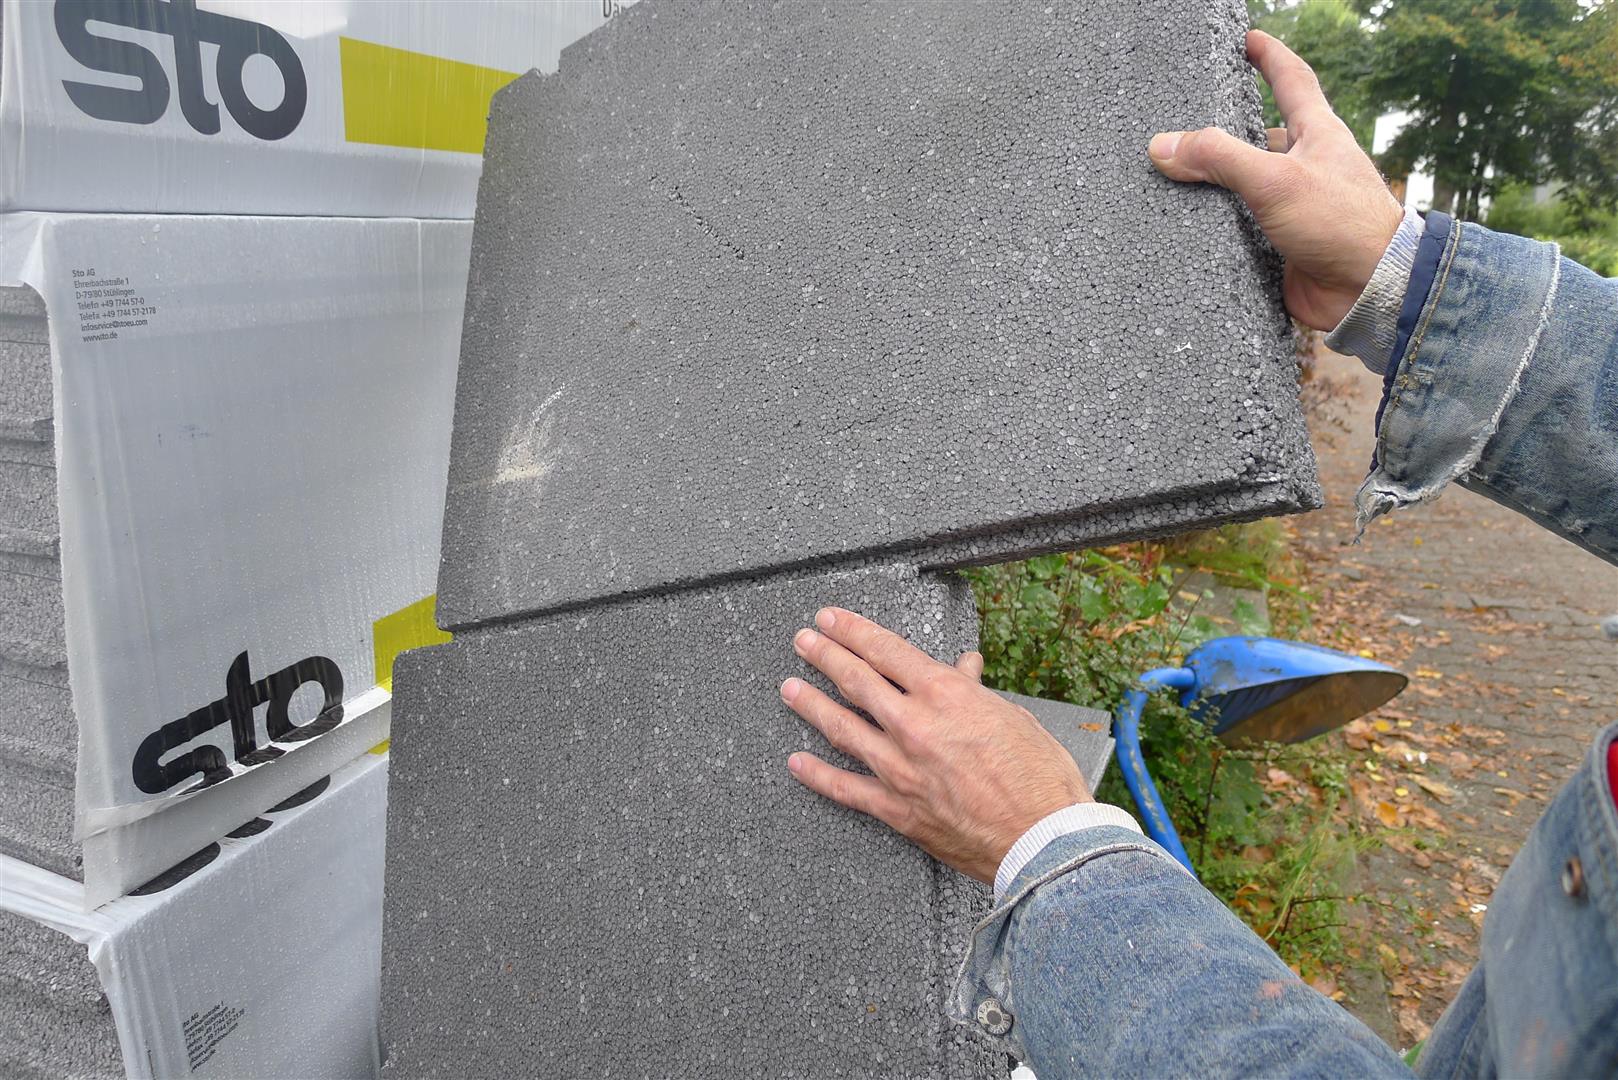
The blocks of foam are configured with tongues and grooves around their edges to create a better air seal. The site supervisor told me that the grooves are a relatively new innovation from STO. In fact, on most other job sites I have seen, the foam blocks are square-edged.
Installing the blocks of EPS is relatively straightforward. Lengths of plastic angle are fastened level at the bottom of the wall to create a guide for the blocks. Because each block is mechanically fastened and bonded to the wall, the bottom ledge does not have to be load-bearing.
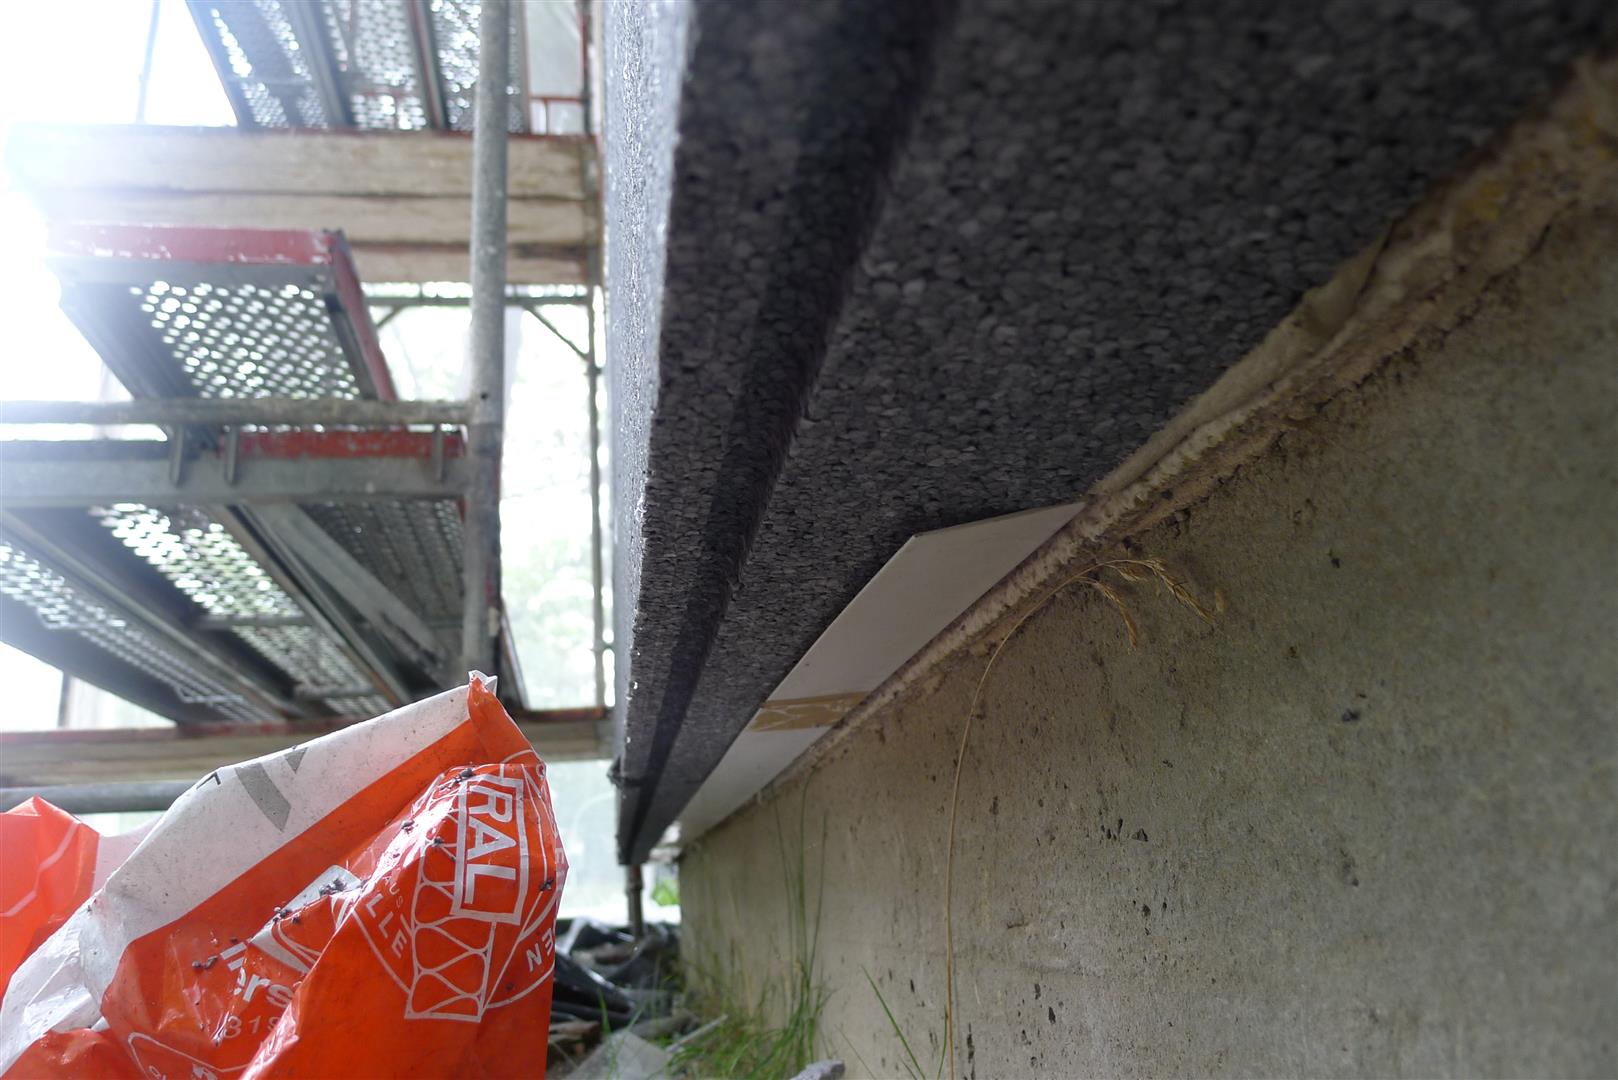
plastic support angle from below
plastic support angle from above
Each block is secured with a thinset-type mortar, and a countersunk plastic expansion anchor. The hole for the anchor is drilled through the foam and into the masonry wall. I presume that the drill bit also creates the 1cm deep countersink for the head of the fastener and the foam cap that covers it. When the screw in the middle of the fastener is driven with a screwgun, the tip of the anchor expands, locking it in place. EPS “bungs” are installed over the heads of the countersunk fasteners. Any gaps between the blocks of EPS foam are filled with one-part expanding polyurethane foam.
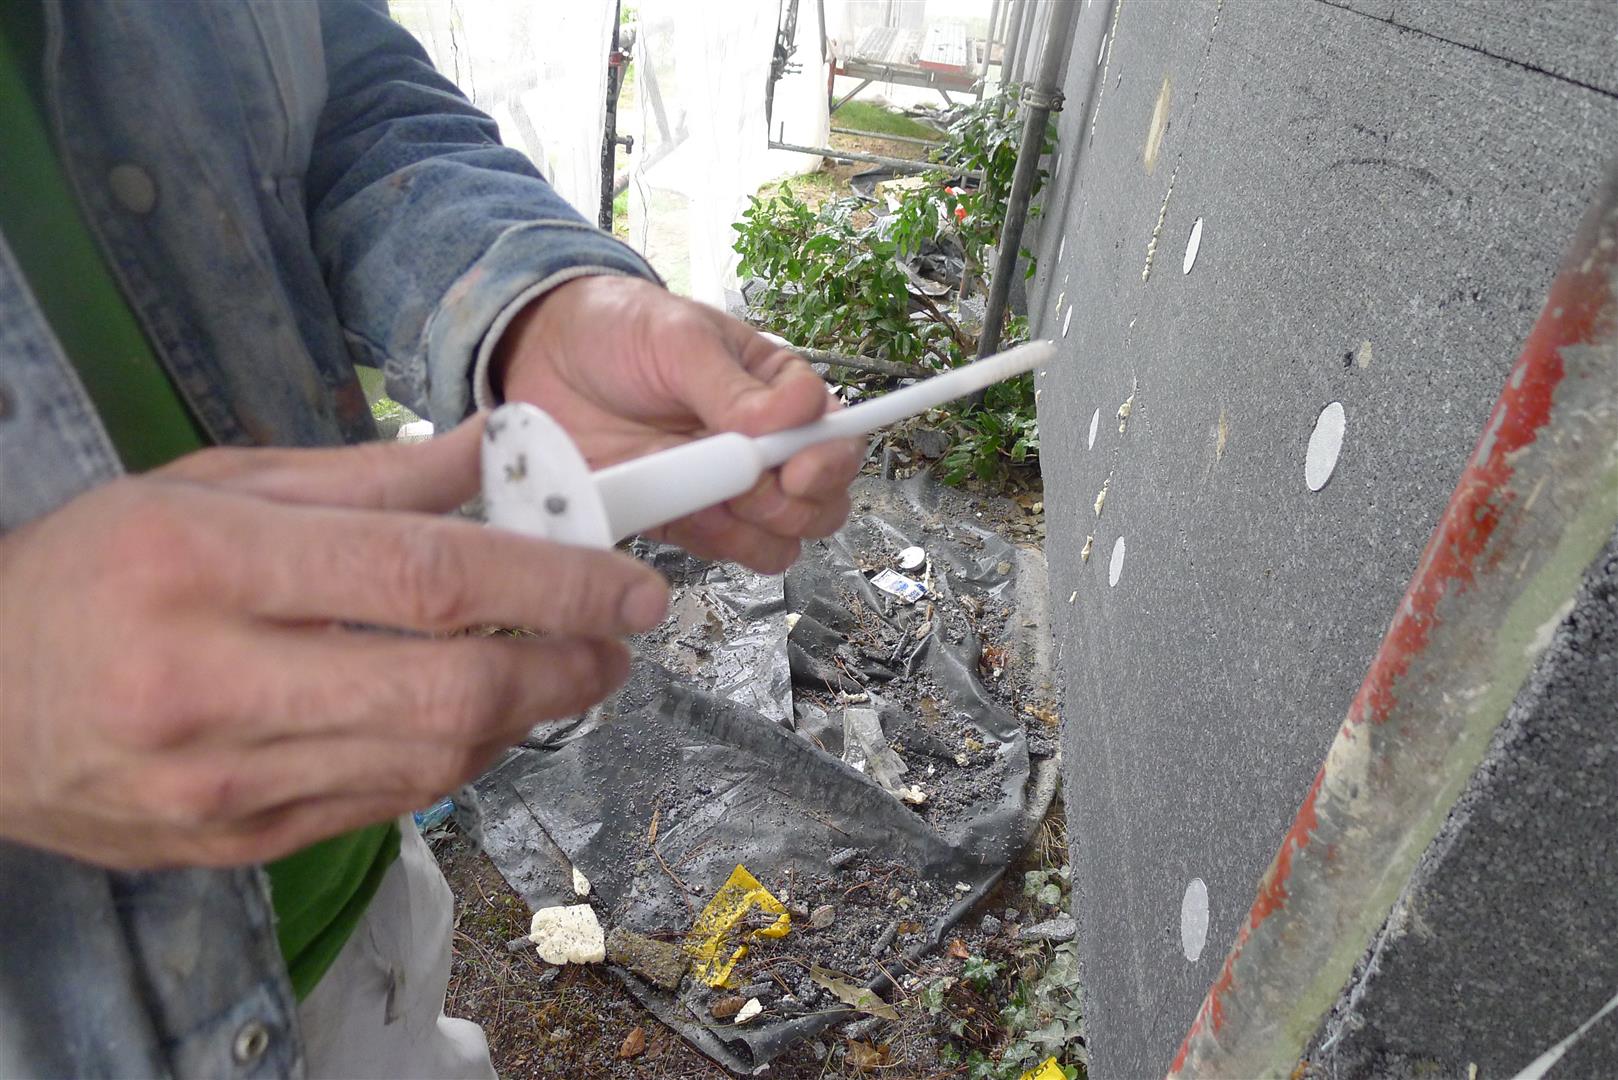
plastic expansion anchor

head and screw of plastic expansion anchor

countersunk fastener and “bung”
Because these buildings are simple in form, applying a skin of rigid foam is straightforward. The only areas requiring special detailing are where vertical bands of glazing had run continuously through all the floors. As part of the retrofit, these bands were replaced by windows at each floor level. Masonry lintels at each floor level support lightweight (aerated) concrete block infill walls, above which the windows are installed.
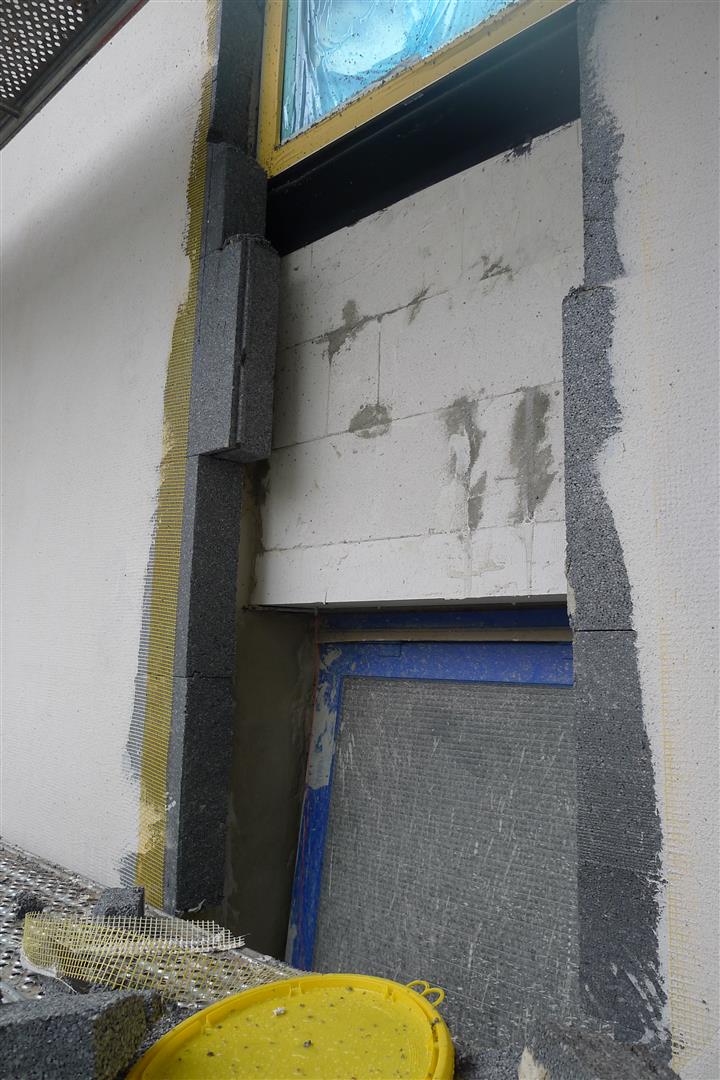
detail at window recess
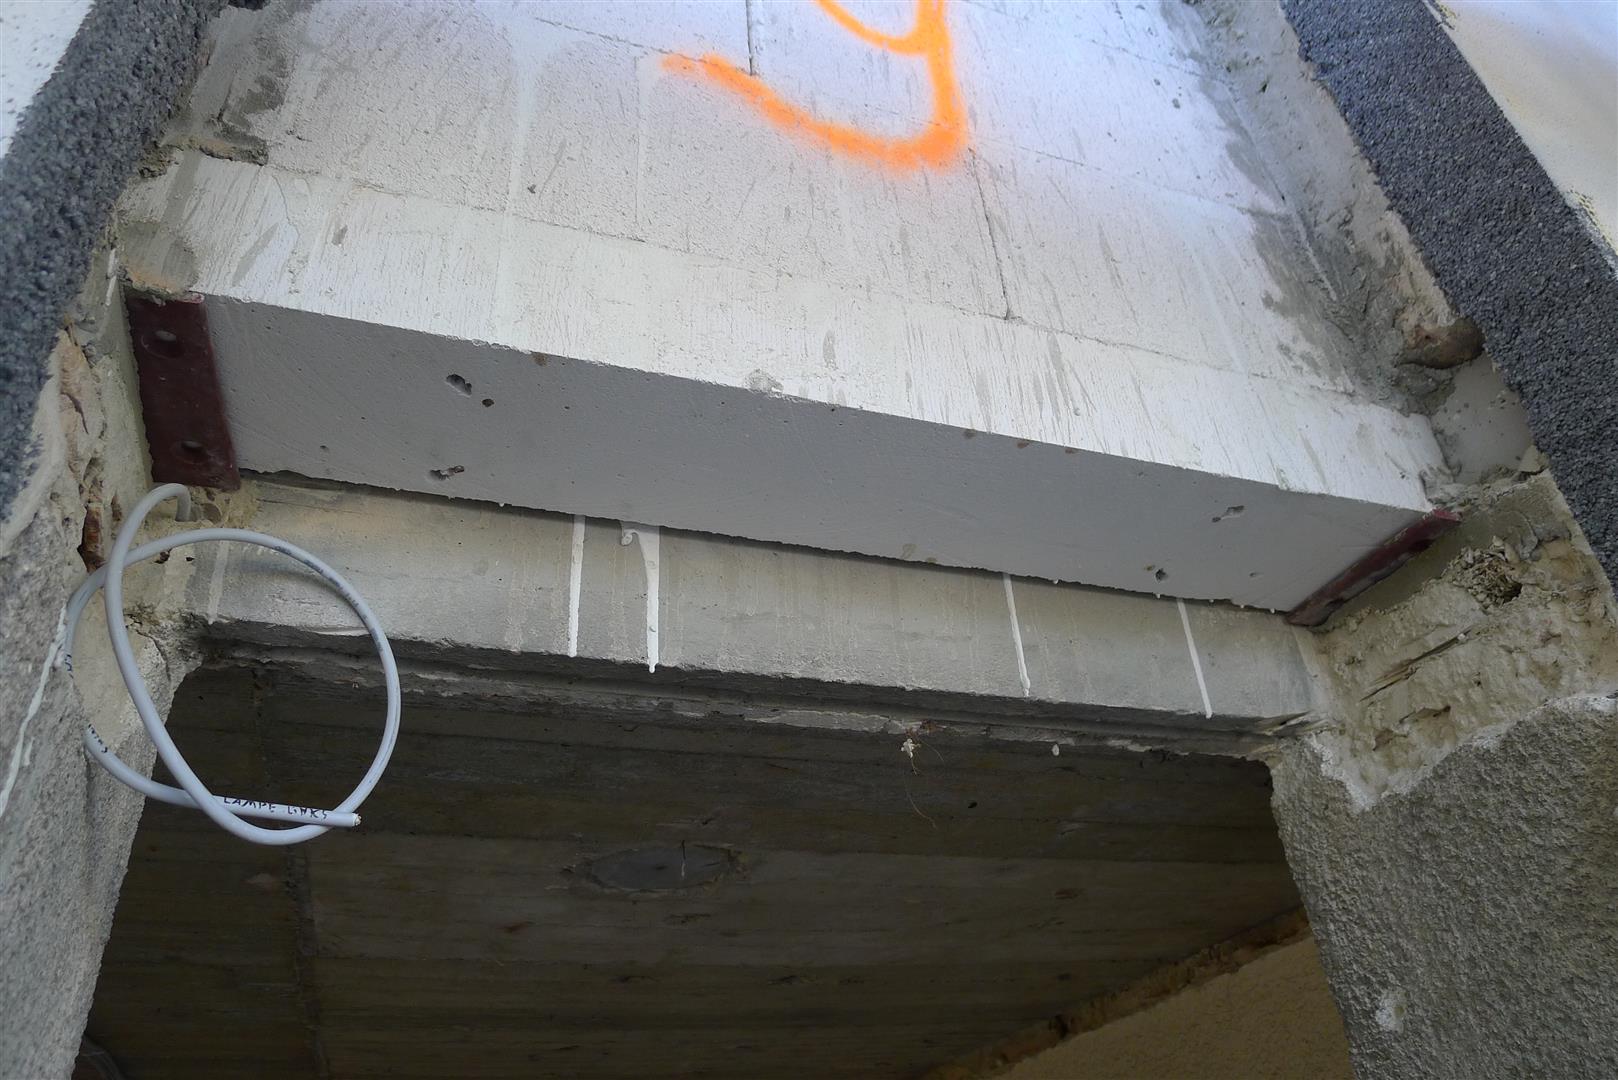
masonry lintel above door opening
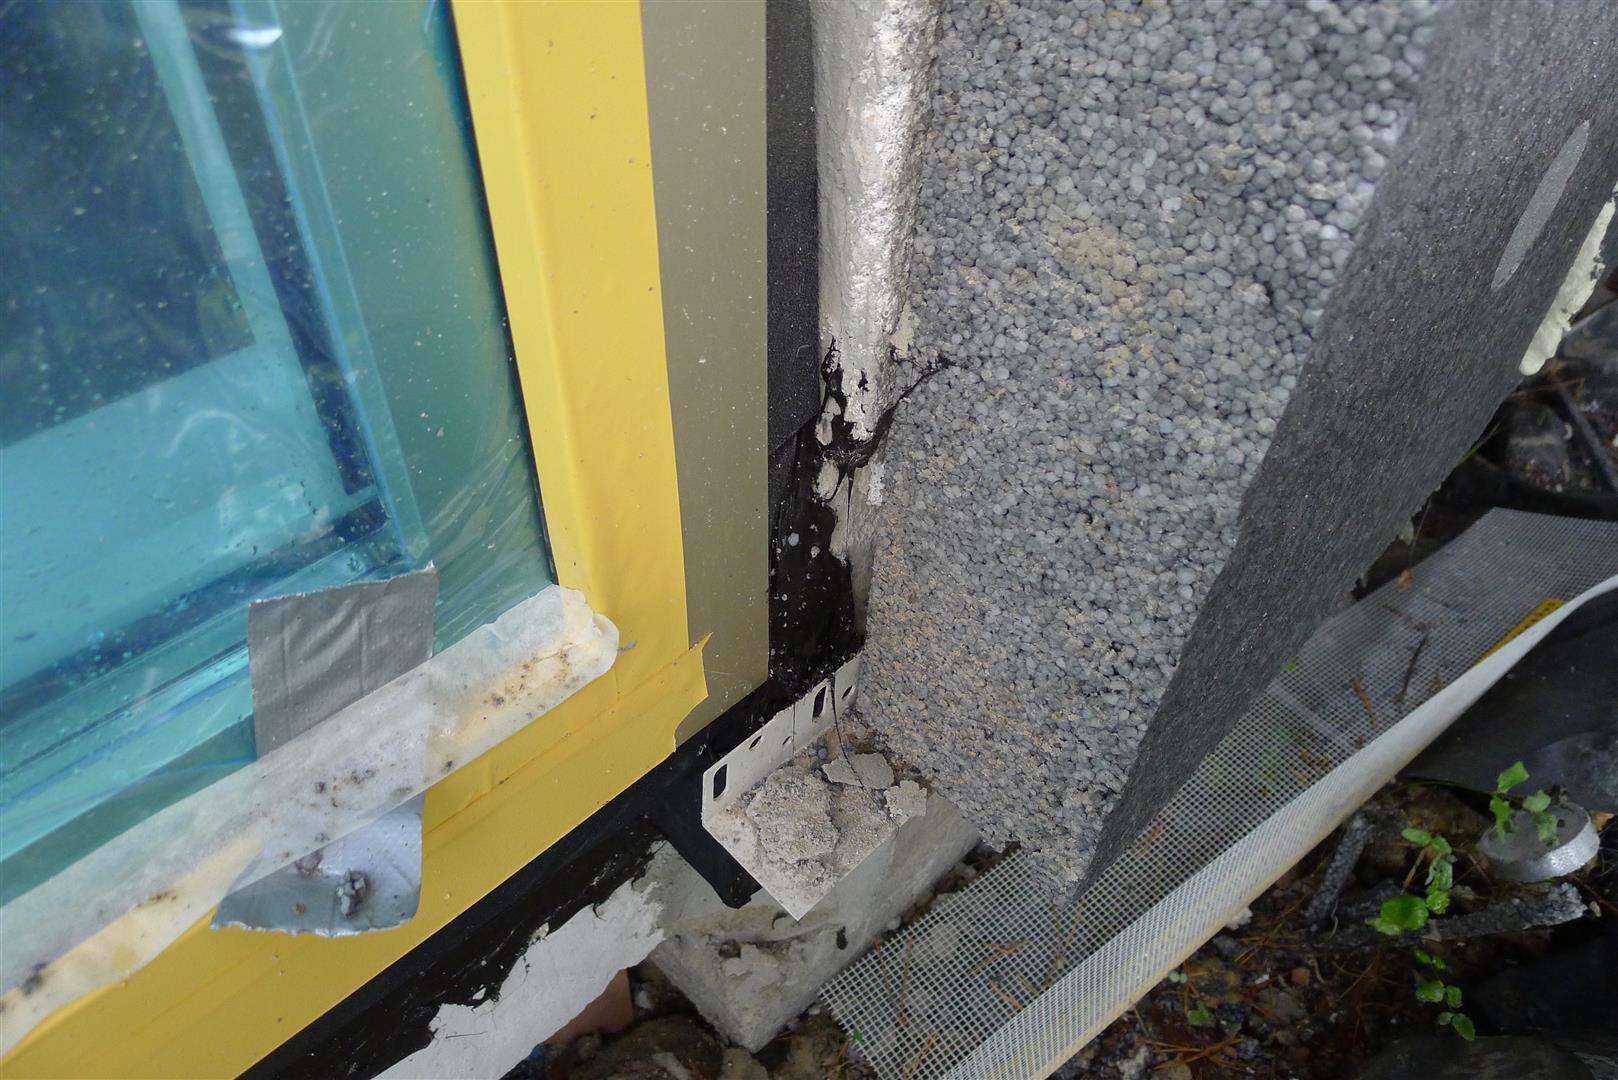
The windows are flashed on all four sides with membrane strips bedded in black goop.
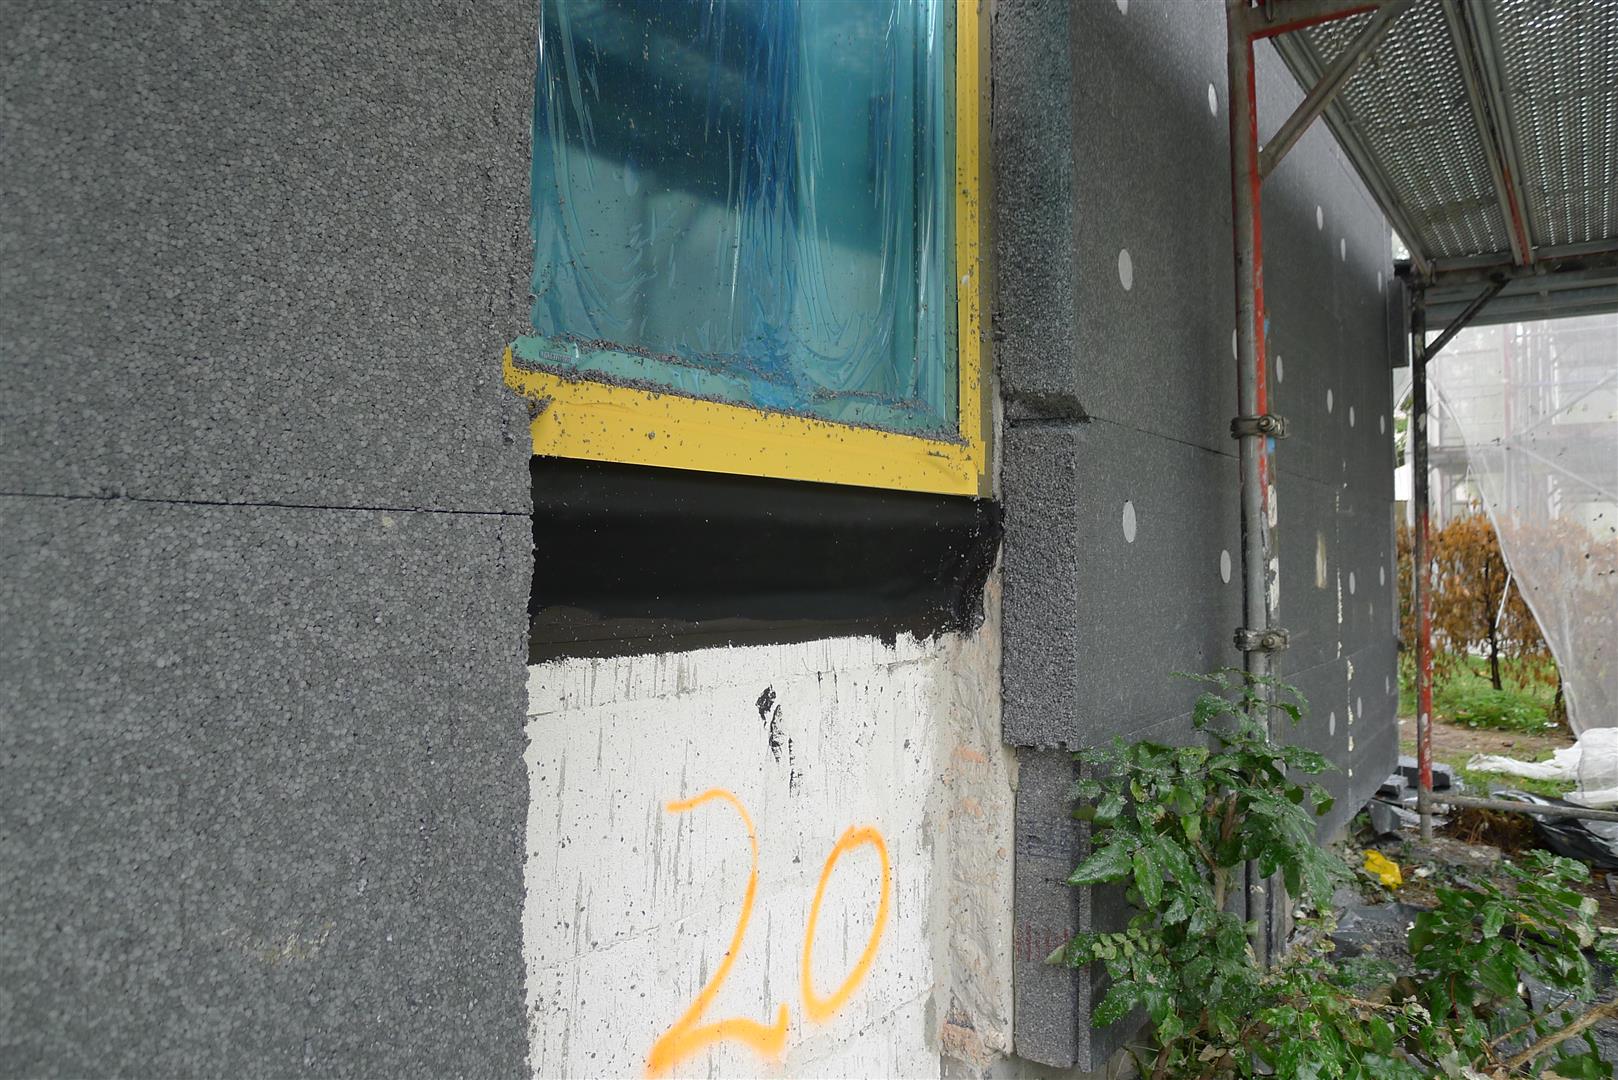
membrane and black goop seal around windows
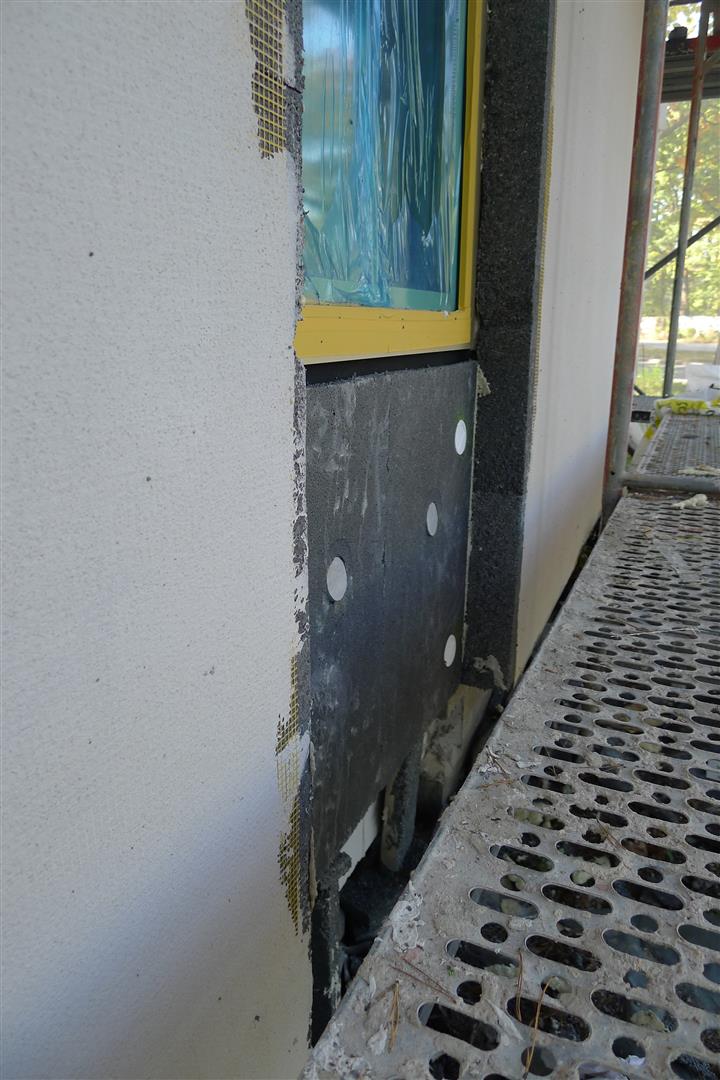
rigid foam infill under window
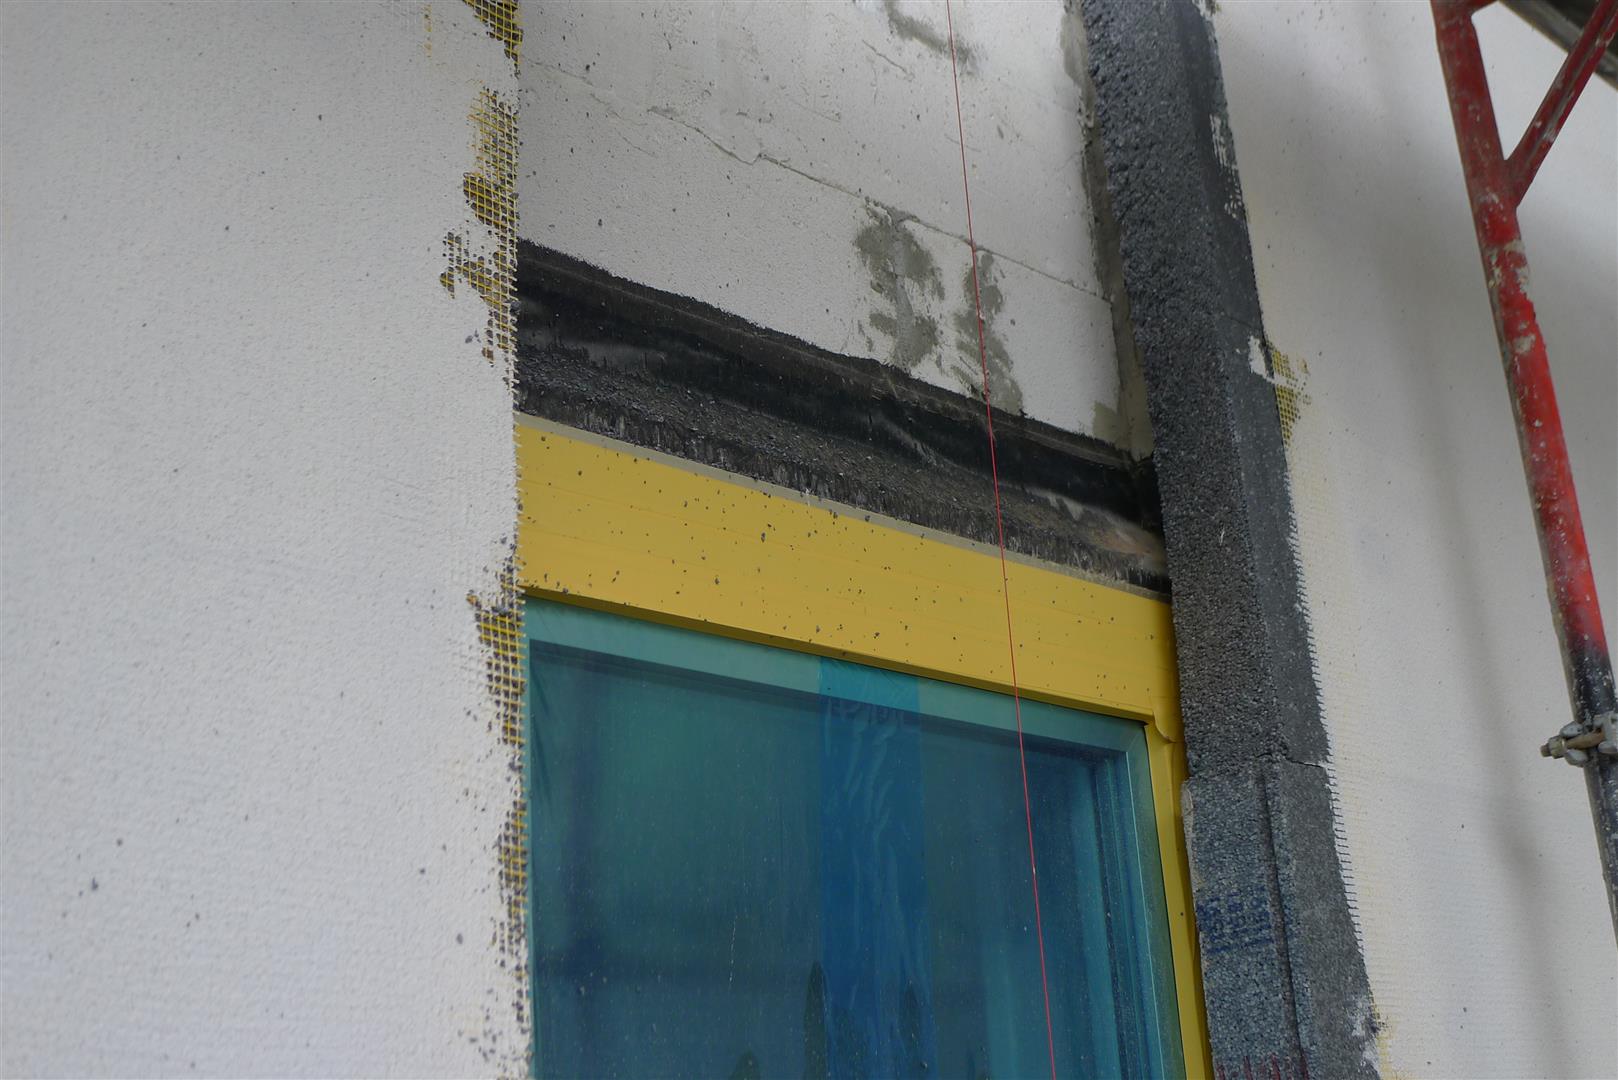
flashing above window
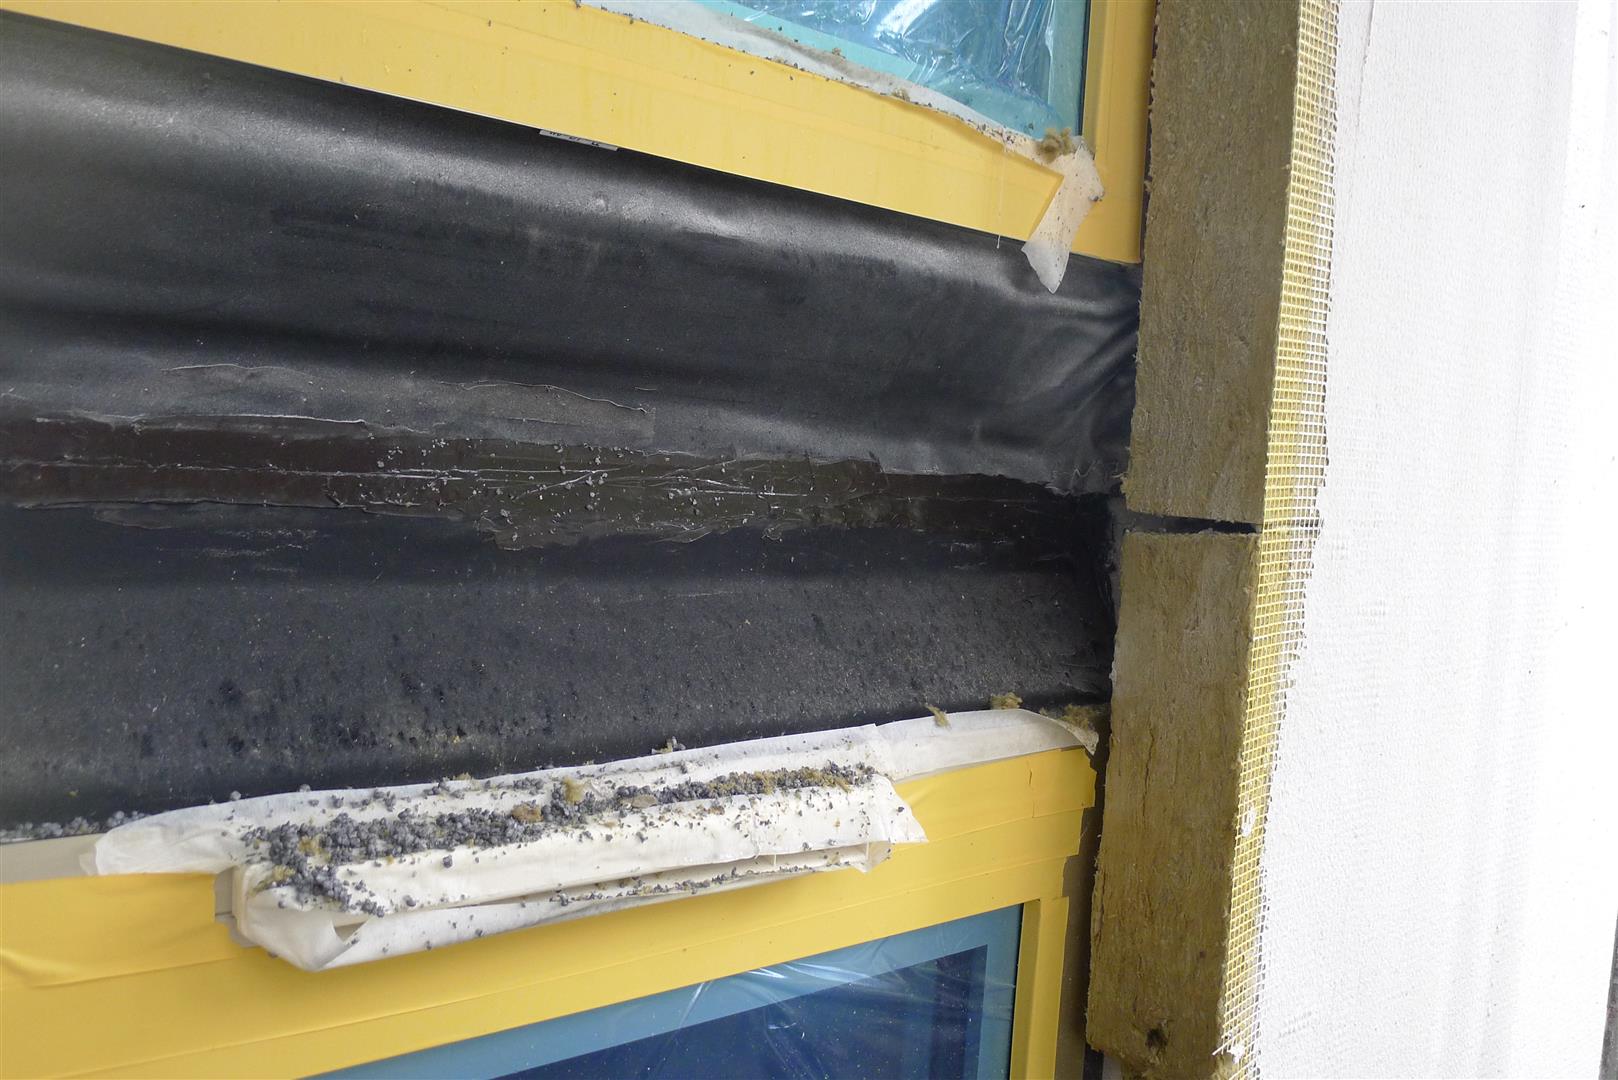
membrane and goop between units — note mineral wool insulation
Once the foam has been trimmed at the edges of the windows, strips of mesh with a plastic bead are adhered to the window frame to allow the window returns to be stuccoed.

window return mesh with adhesive strip
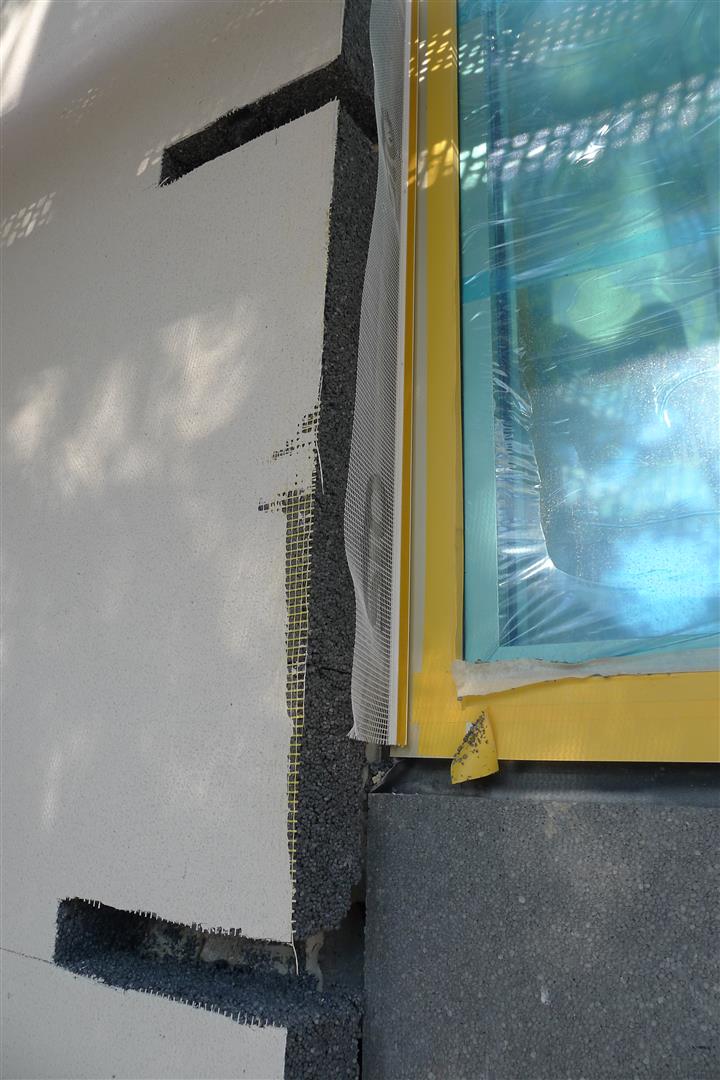
window return mesh adhered to window frame
Corner bead with pre-applied mesh is installed on the foam at exterior corners.
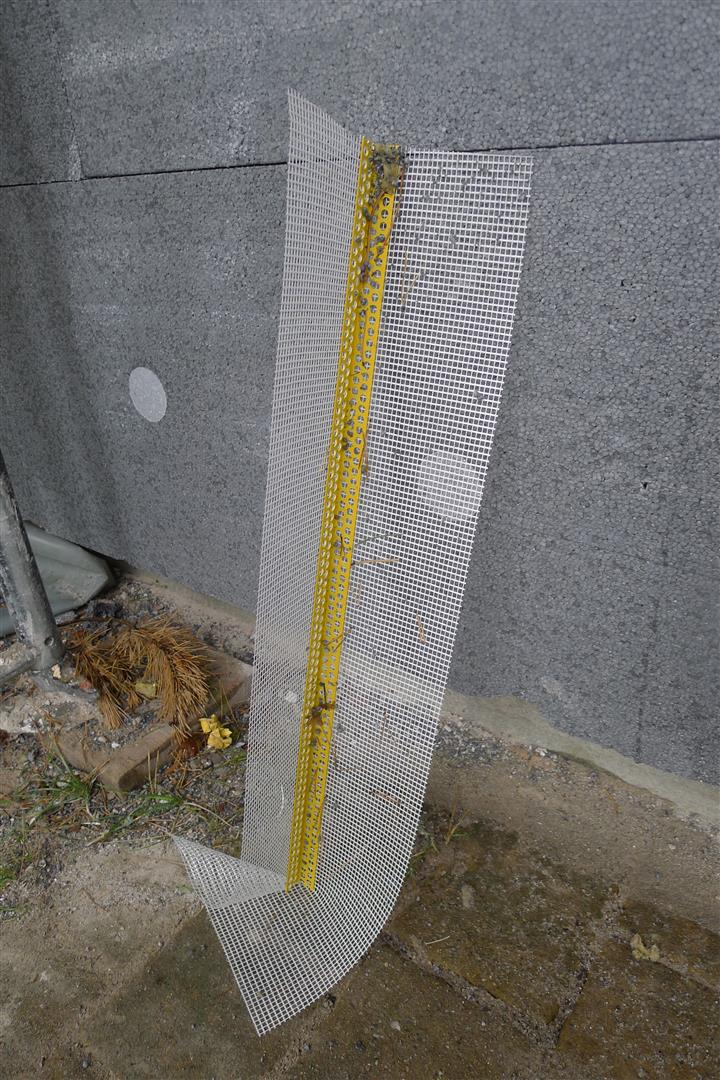
strip of corner bead with mesh
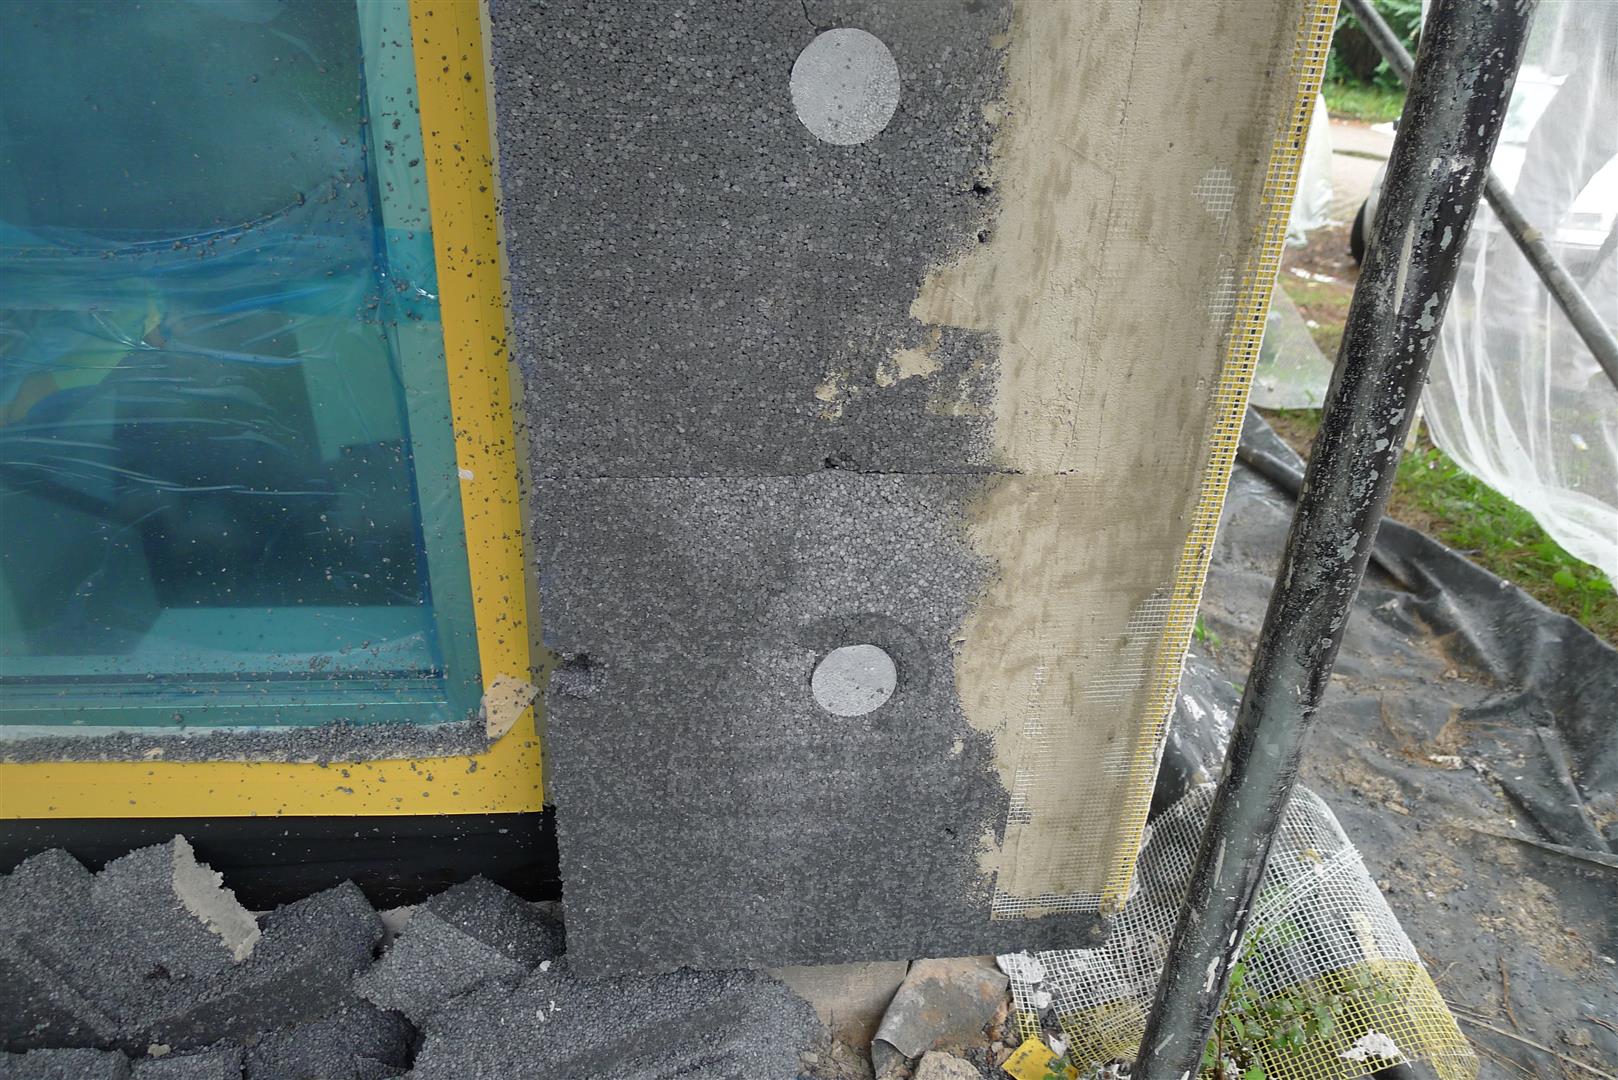
corner bead with mesh stuccoed in place
The only place on this building where mineral wool batts were used instead of EPS foam was to enclose the chimney that presumably vents the boiler. The site supervisor told me that the non-flammable mineral wool is also generally used to insulate facades adjacent to other buildings, to mitigate against the spread of fire from one building to another.

chimney enclosure with mineral wool insulation
The site super told me that if I wanted to see what these buildings would look like when finished, I could visit a completed project nearby. He gave me directions, and off I pedaled.
These completed buildings appear to be nearly identical to the ones that I saw being worked on:
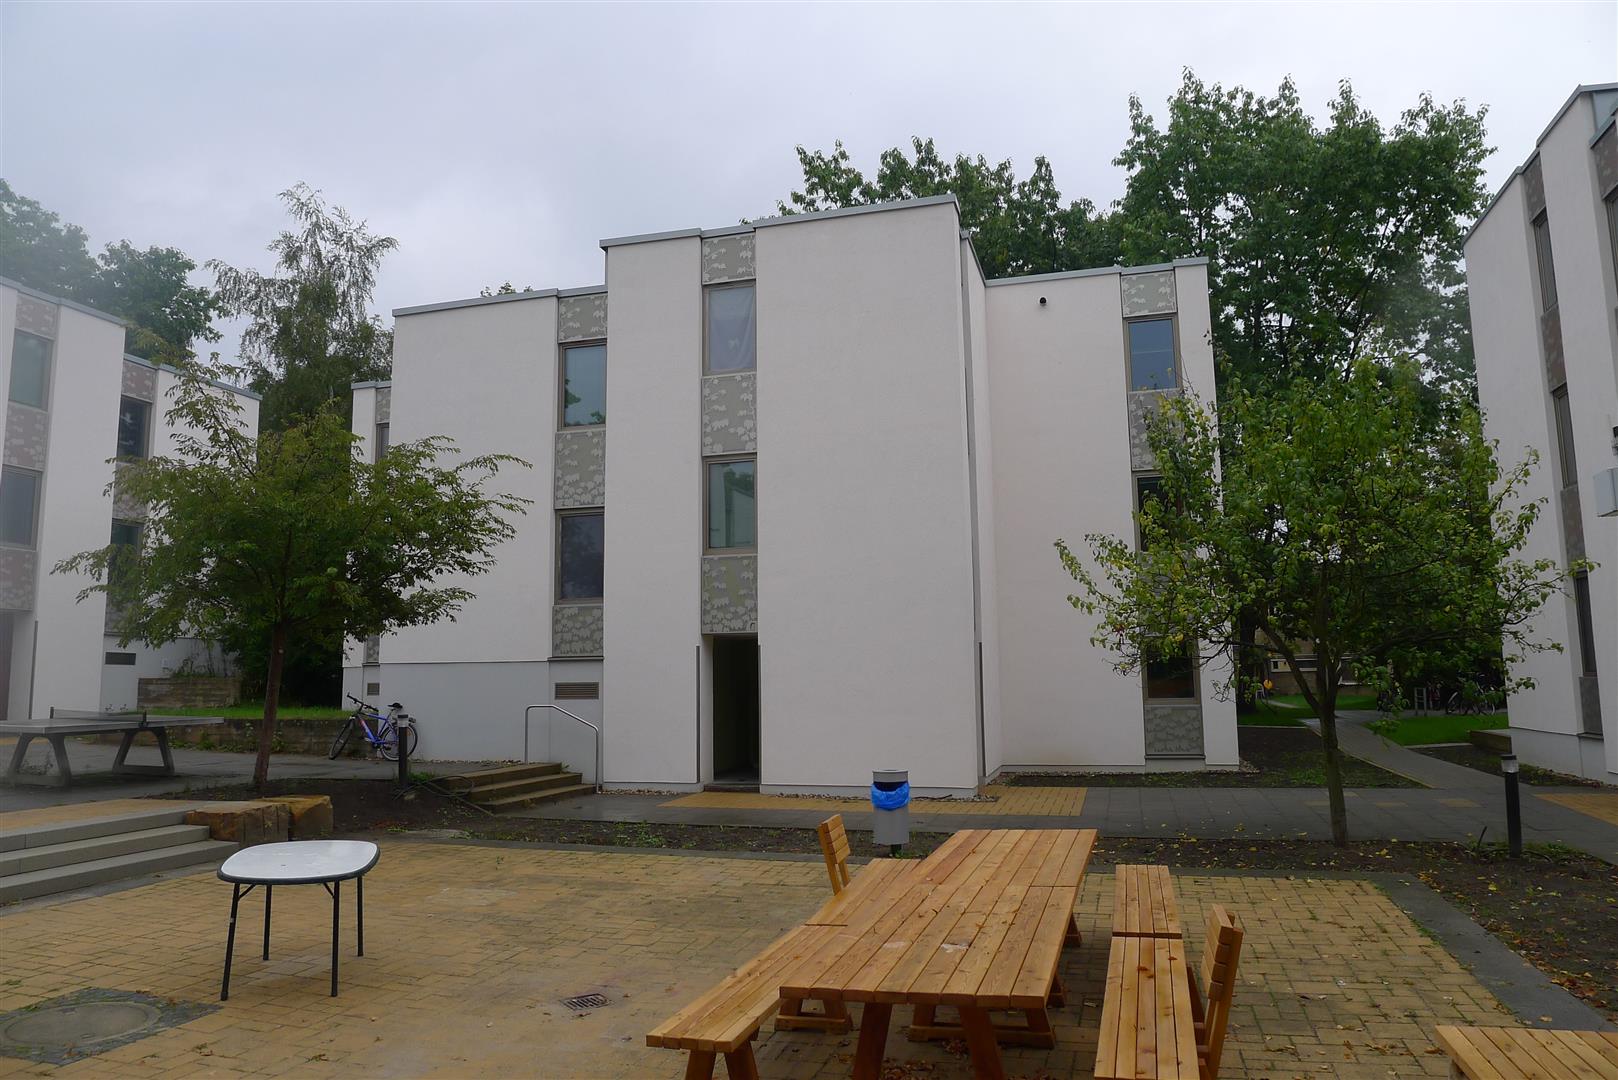
completed buildings
chimney on completed project
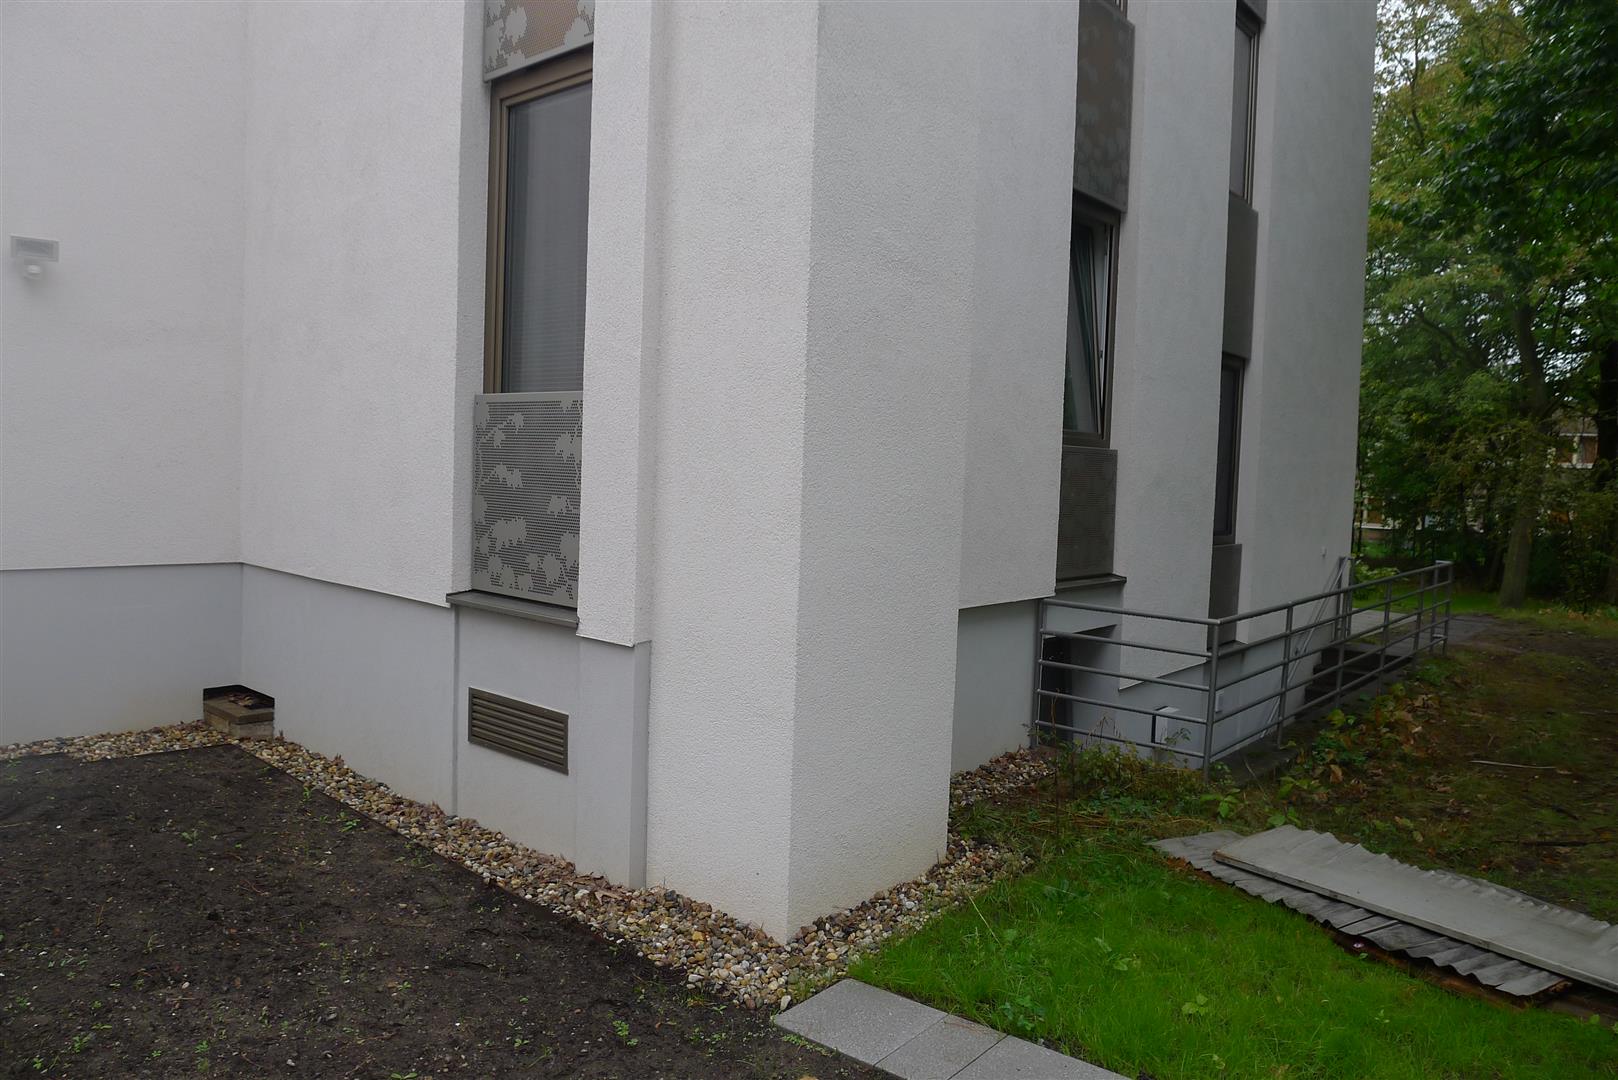
The spaces between windows in the vertical recesses are finished with decorative metal grills:
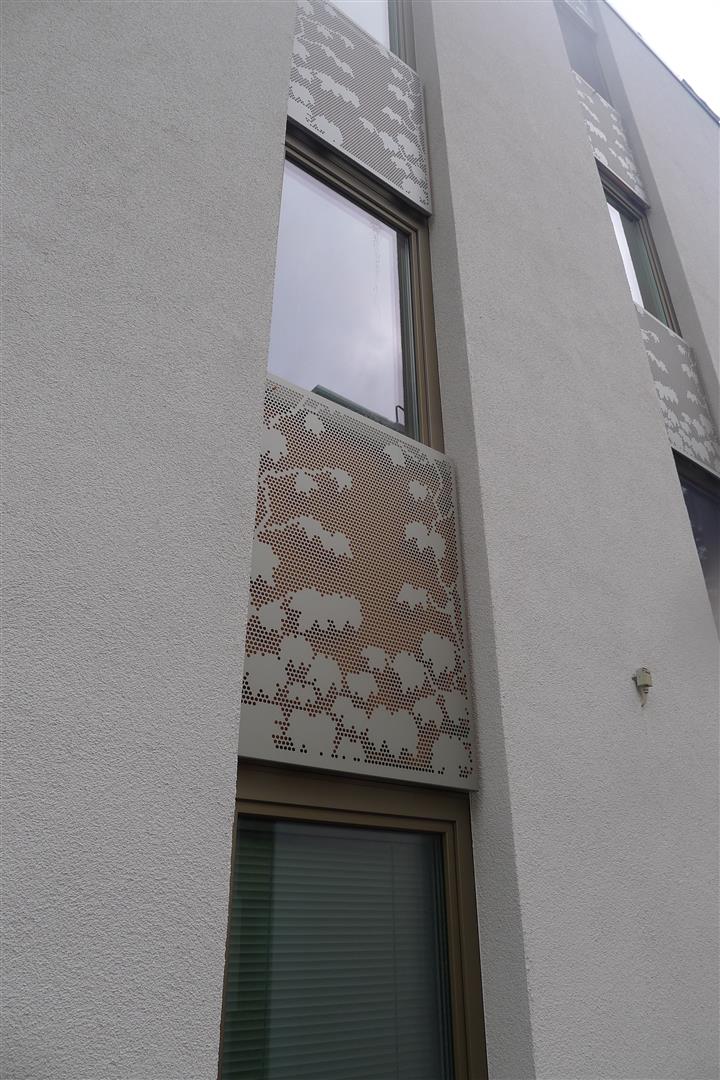
decorative screens
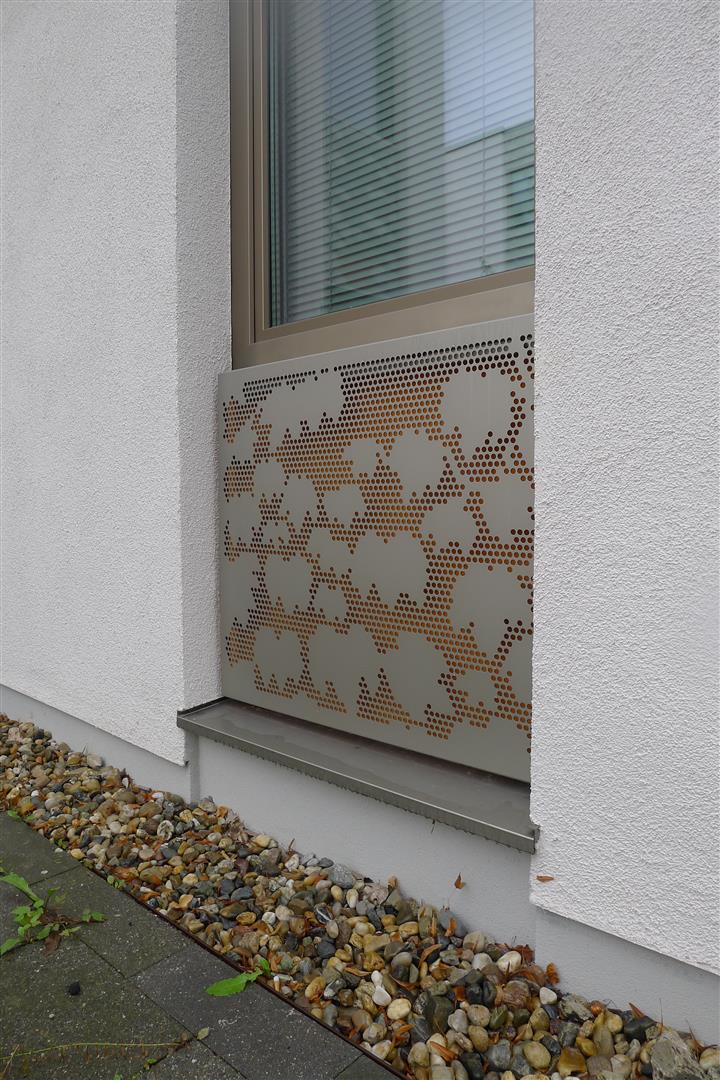
screen and sill
I love the metal sills under these grills. In fact, having repaired or replaced my share of rotten wooden window sills in New England, I am a huge fan of German window sills. The thick building walls require wide sills. Typically the sills are made of a single piece of metal with the edges bent up and around at each end. On this project, each sill consisted of an aluminum pan that slid into extrusions at each end:
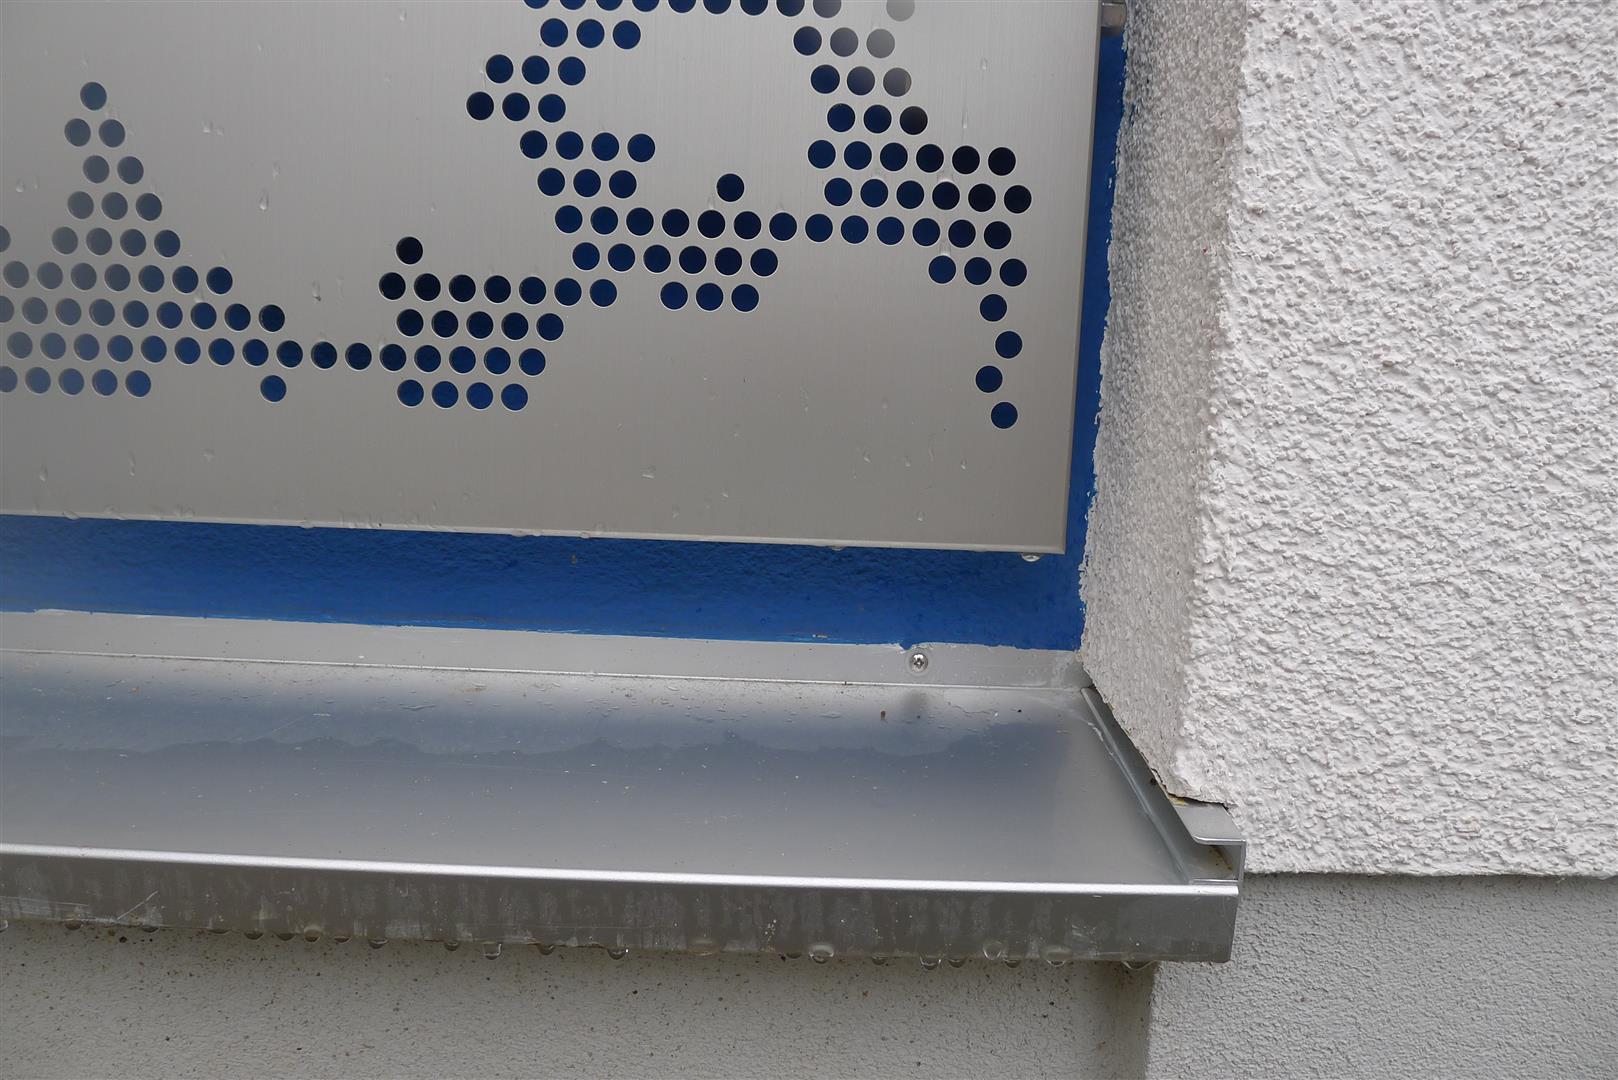
sill detail from above
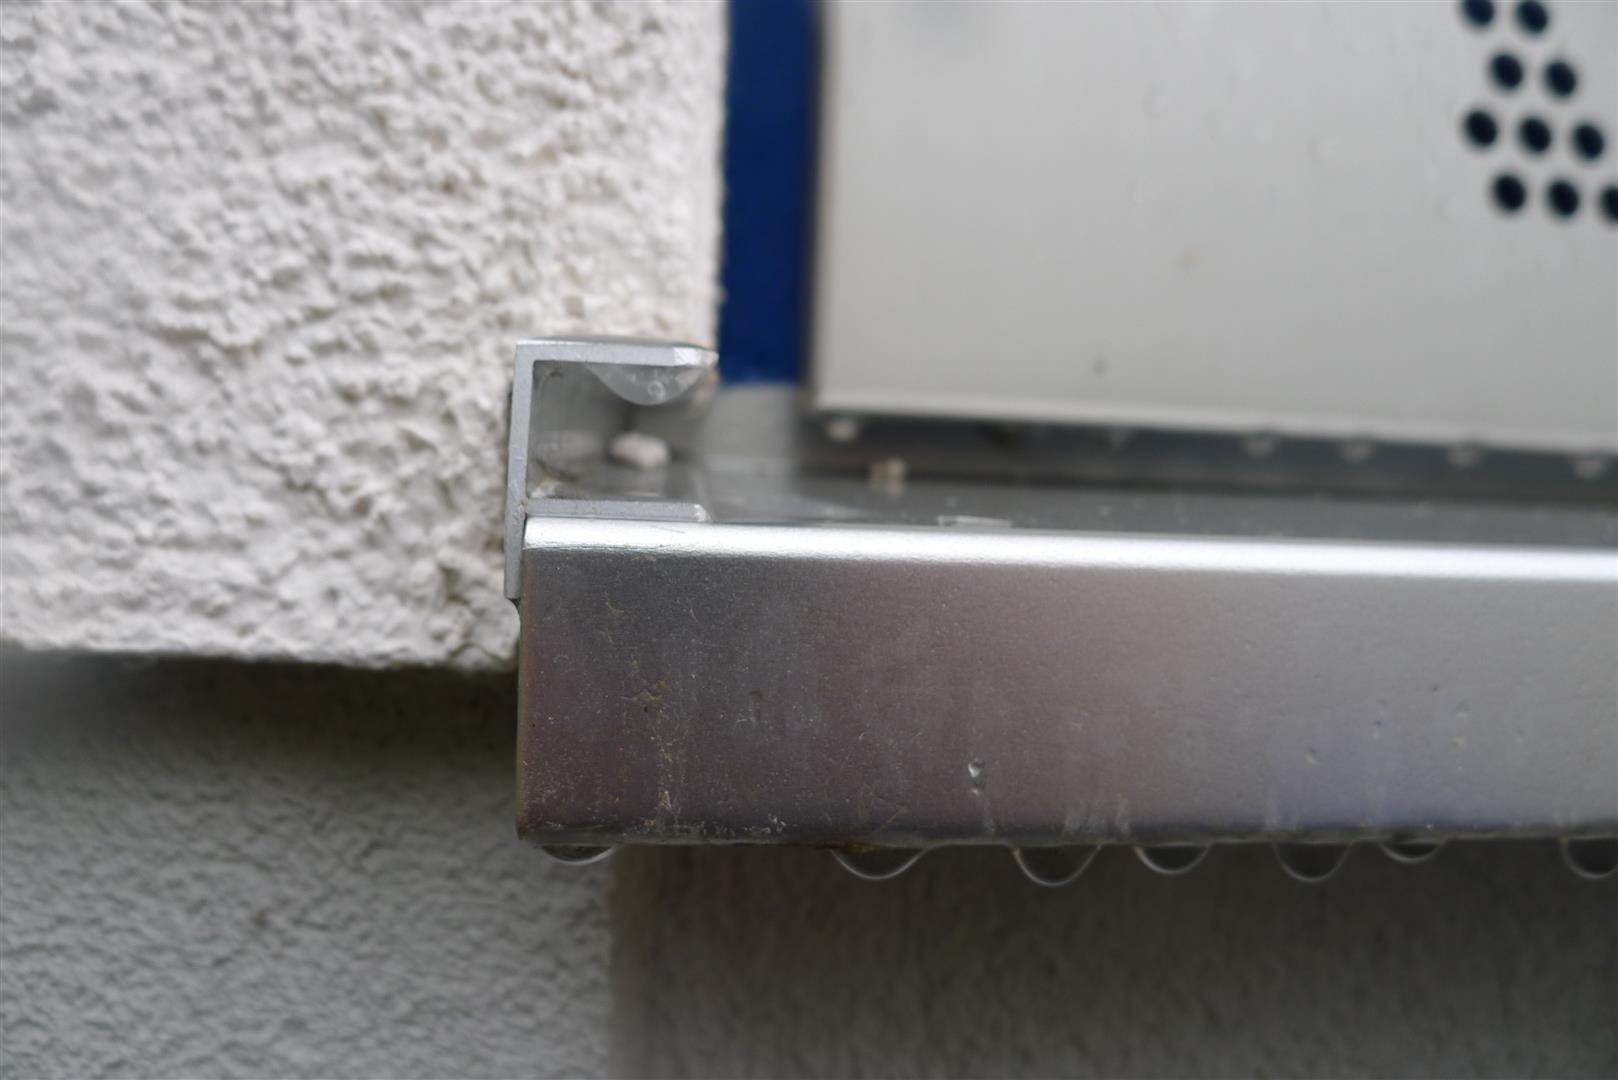
sill detail from front
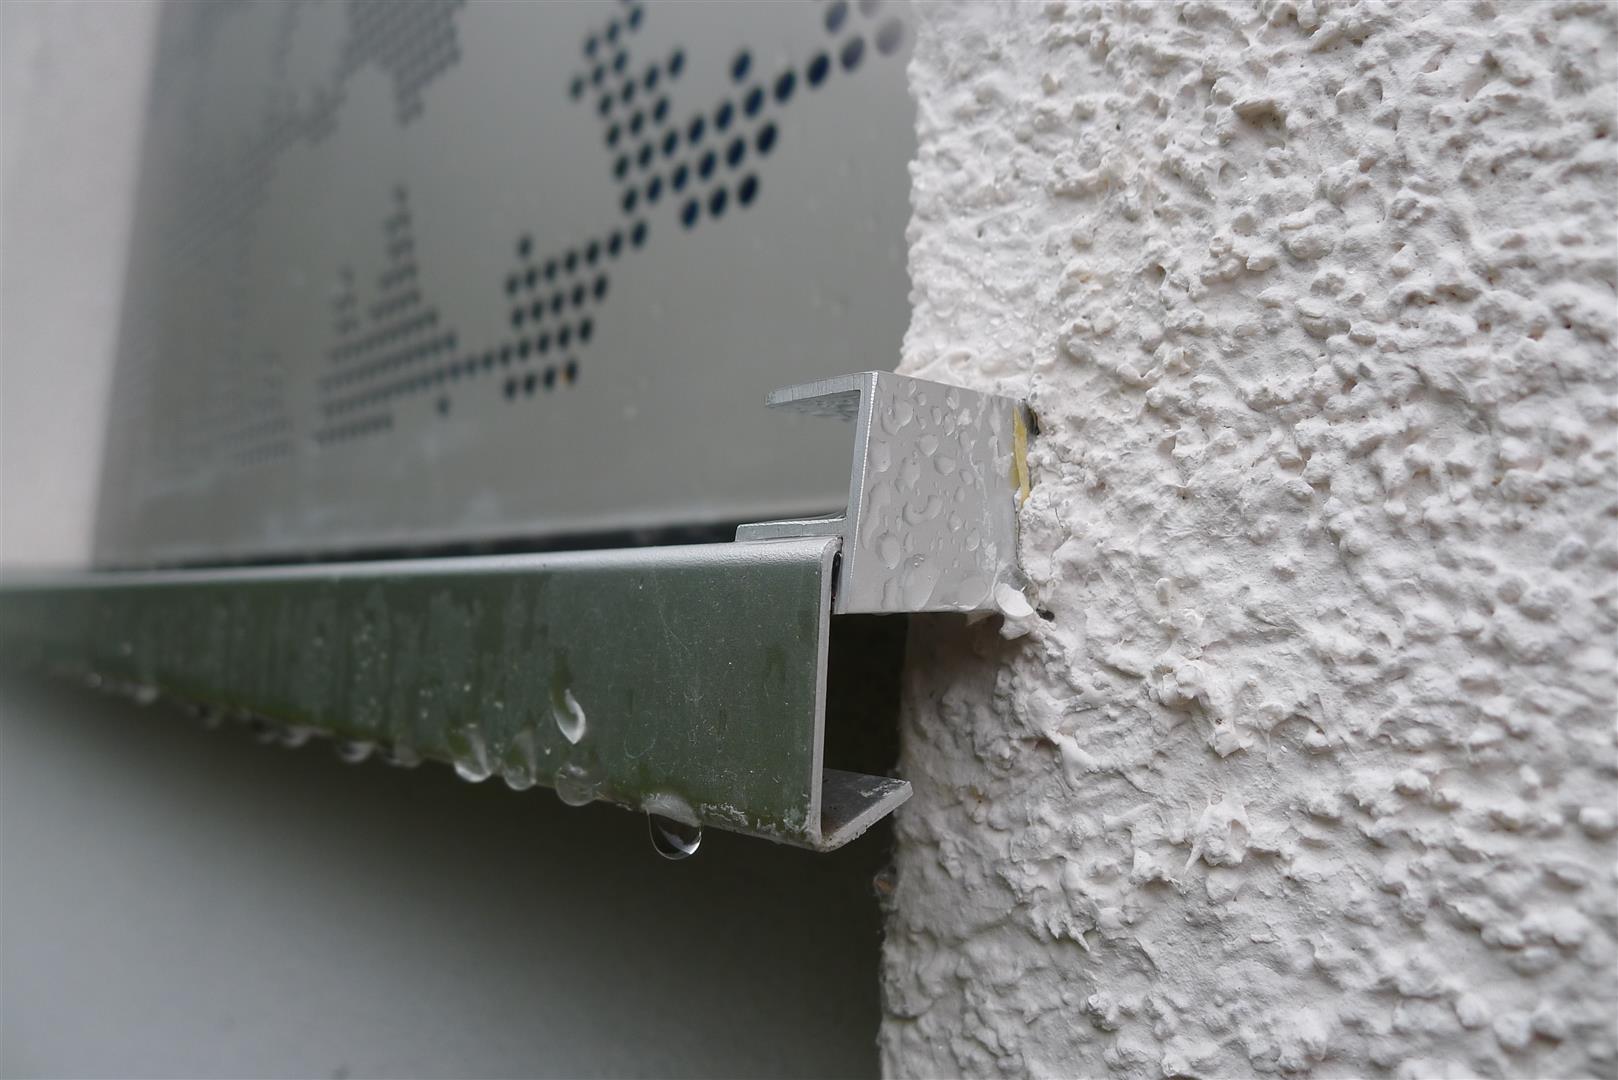
sill detail side view
While I am a fan of these sills, their style is distinct and probably limiting. They work with stucco exteriors, and I could imagine them fitting in on a contemporary house with wood siding, but their “look” would have to be modified significantly for them not to appear out of place on an older New England home. I look forward to wrestling with window sill choice and other details when Annette and I eventually get around to “deep energy retrofitting” our own house in New Hampshire.
Andrew and All,
An excellent read.
Not as much fun as a beer hall maybe but most informative!
thanks so much for posting.
Miss you guys.
Dennis
There seems to be a higher level of quality to this work than is found in the United States. Thank you for this article.